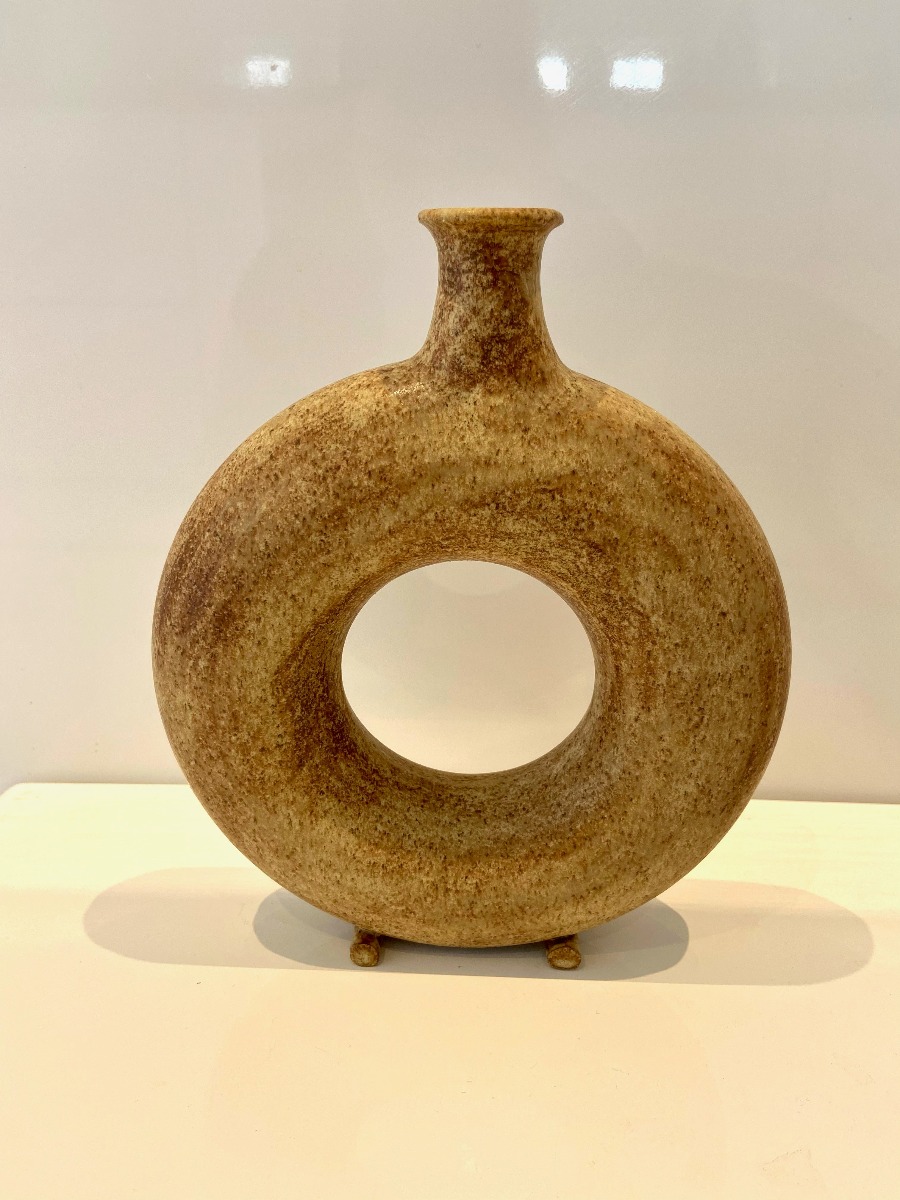
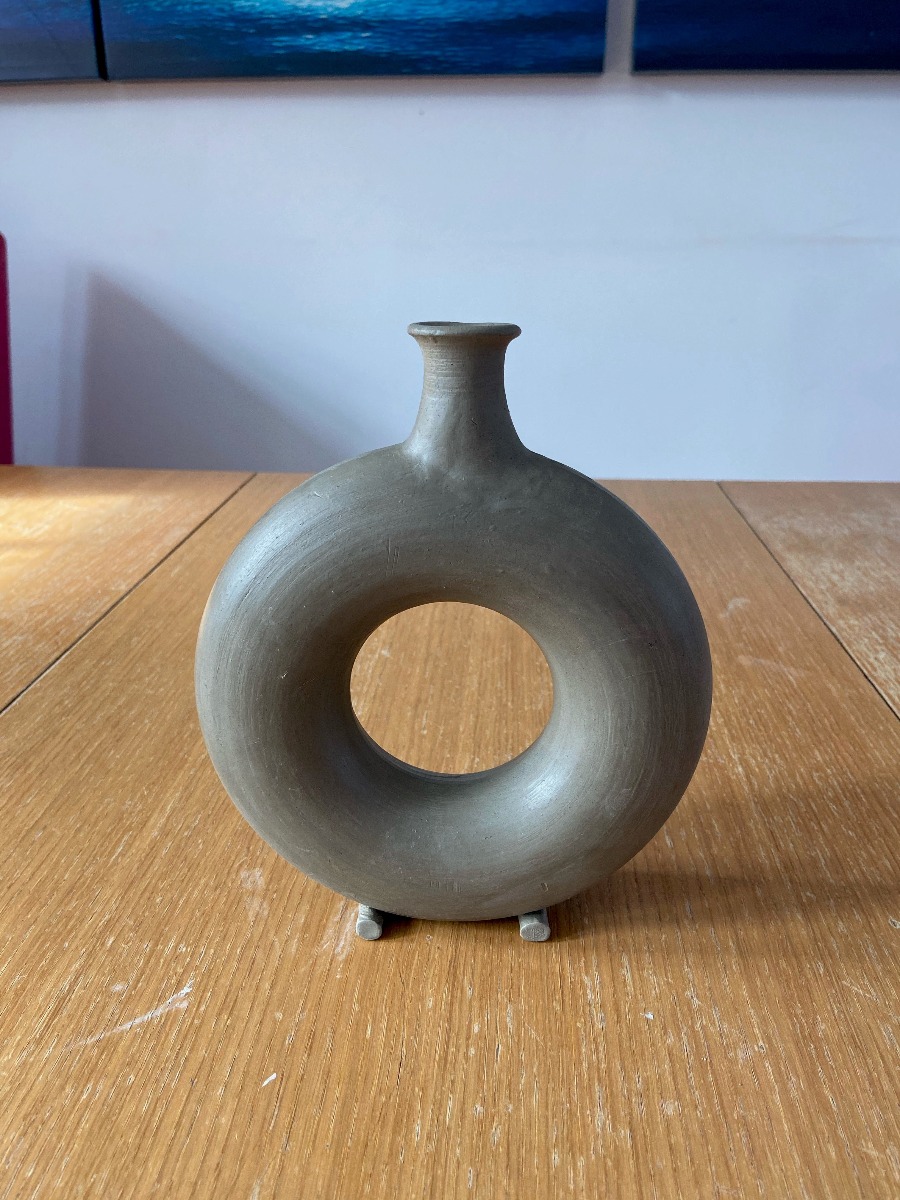
Bottle Ring
Instructions
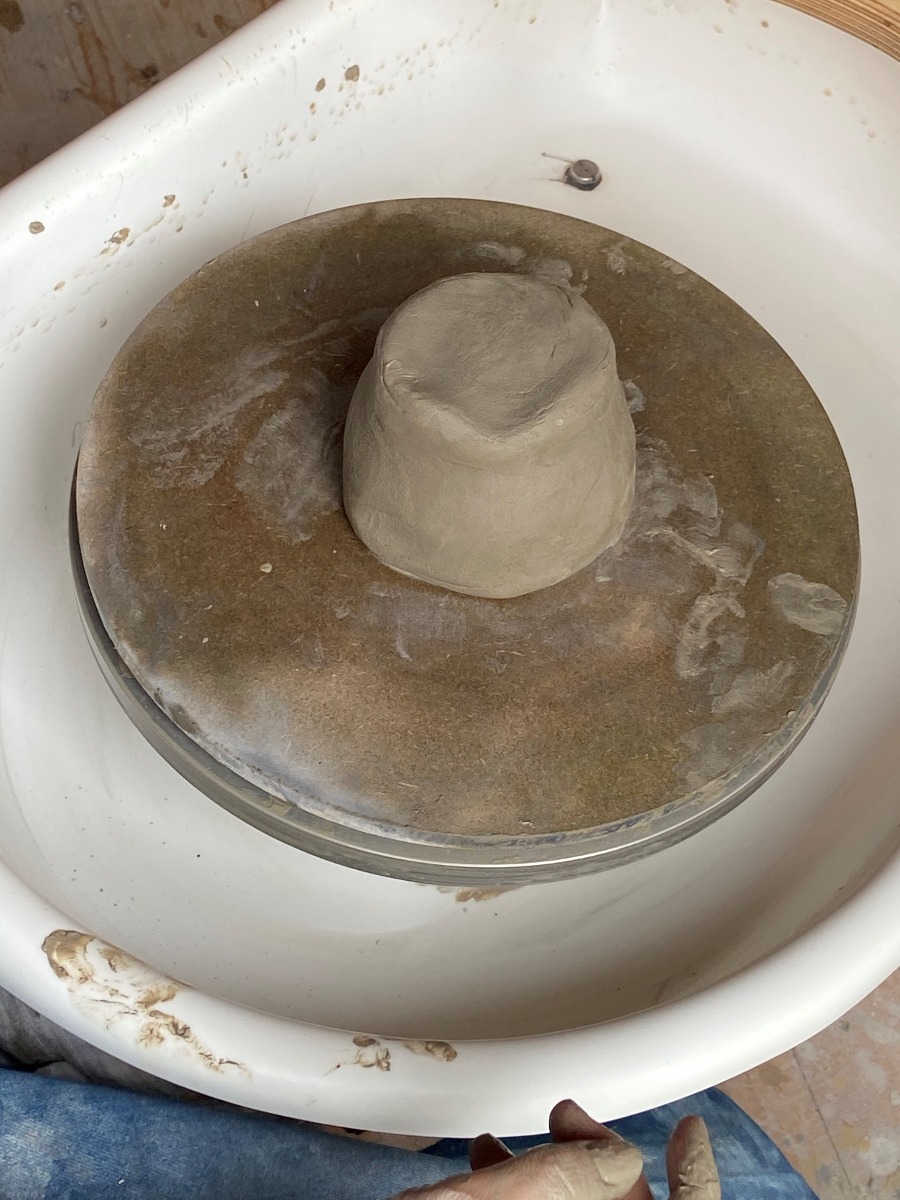
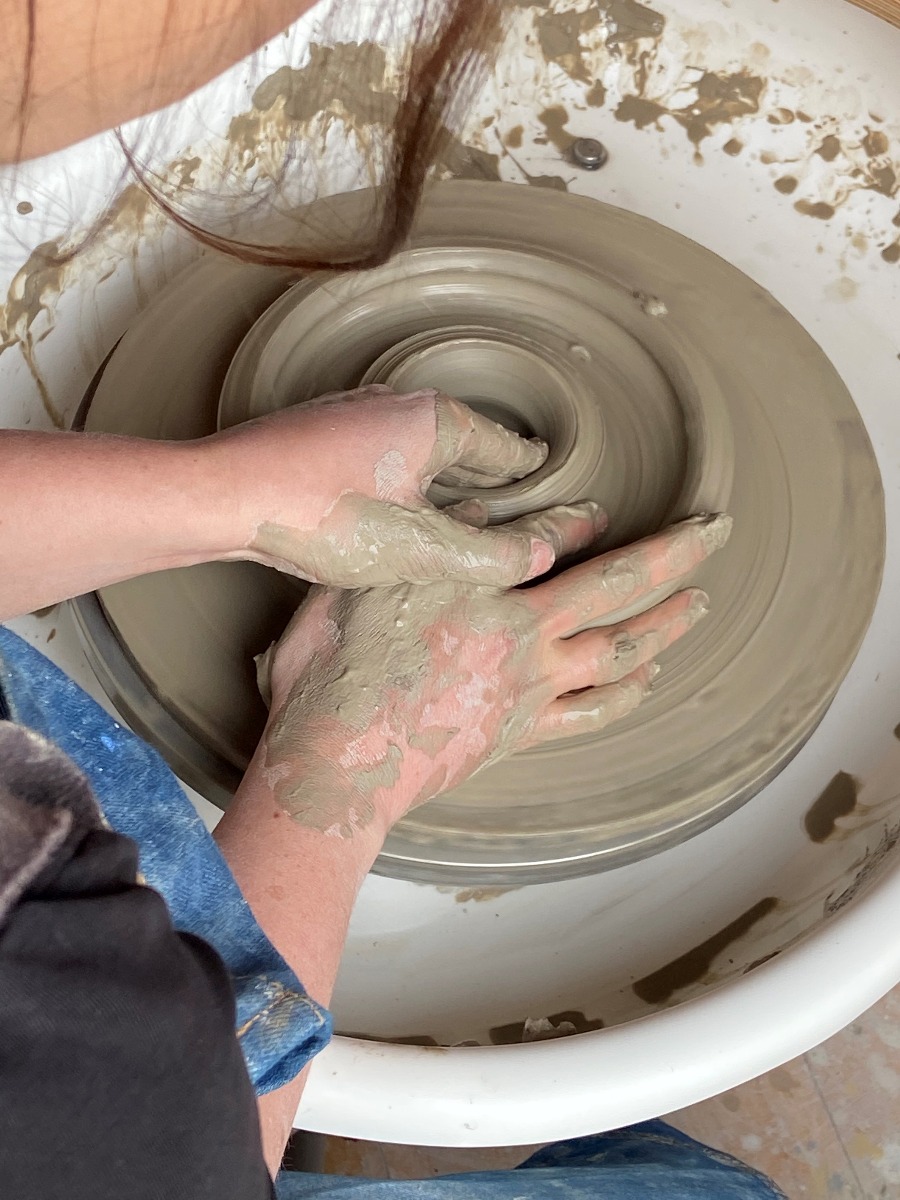
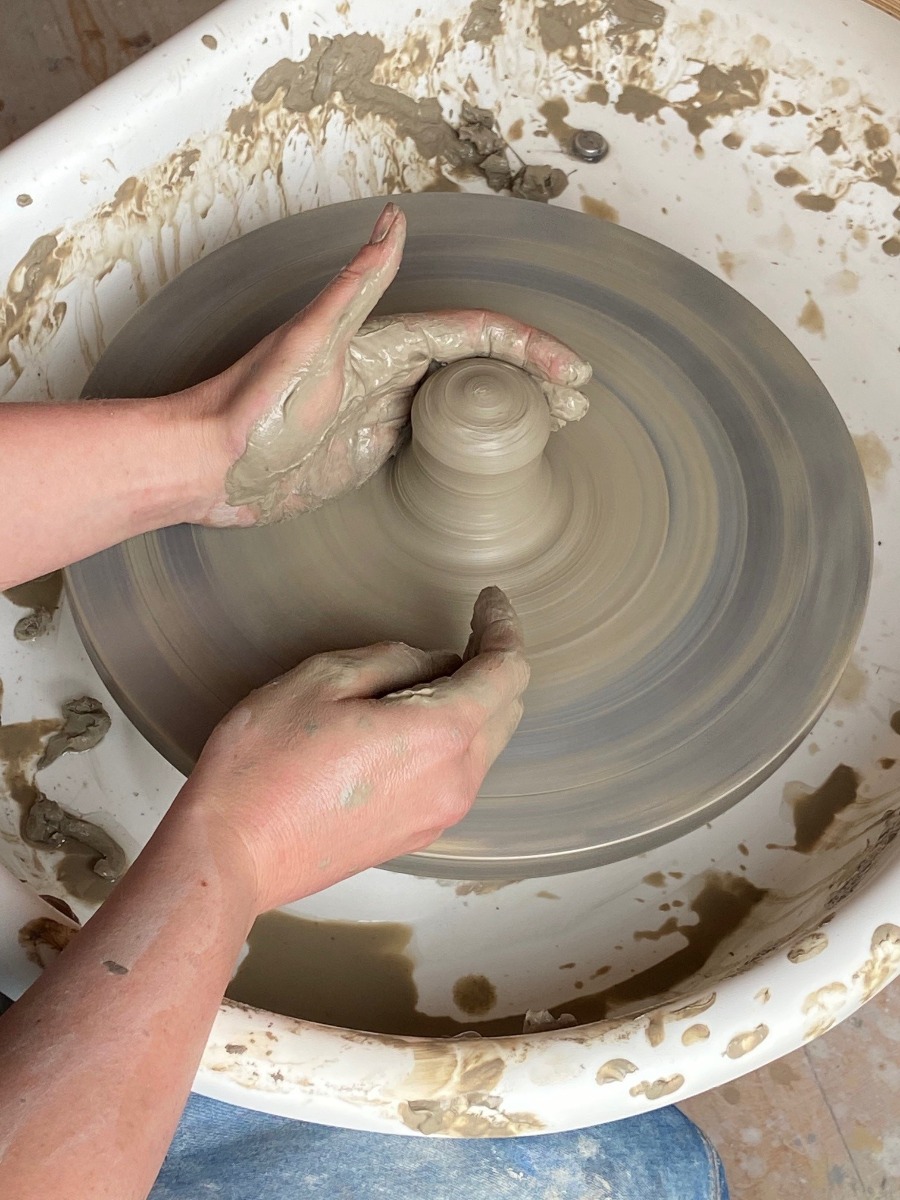
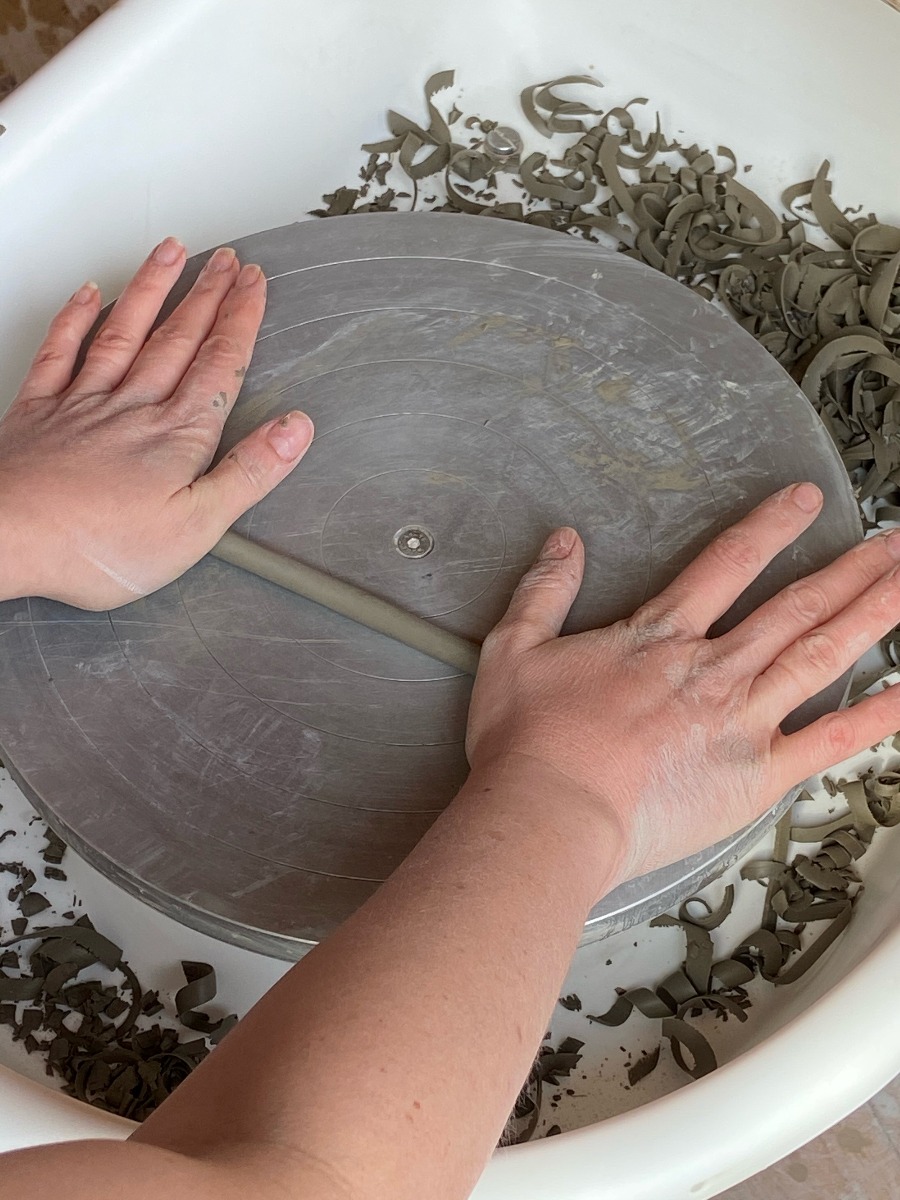
1) Start by attaching a bat to the wheel and centering a
ball of clay. We used approximately 1kg of stoneware
studio throwing clay.
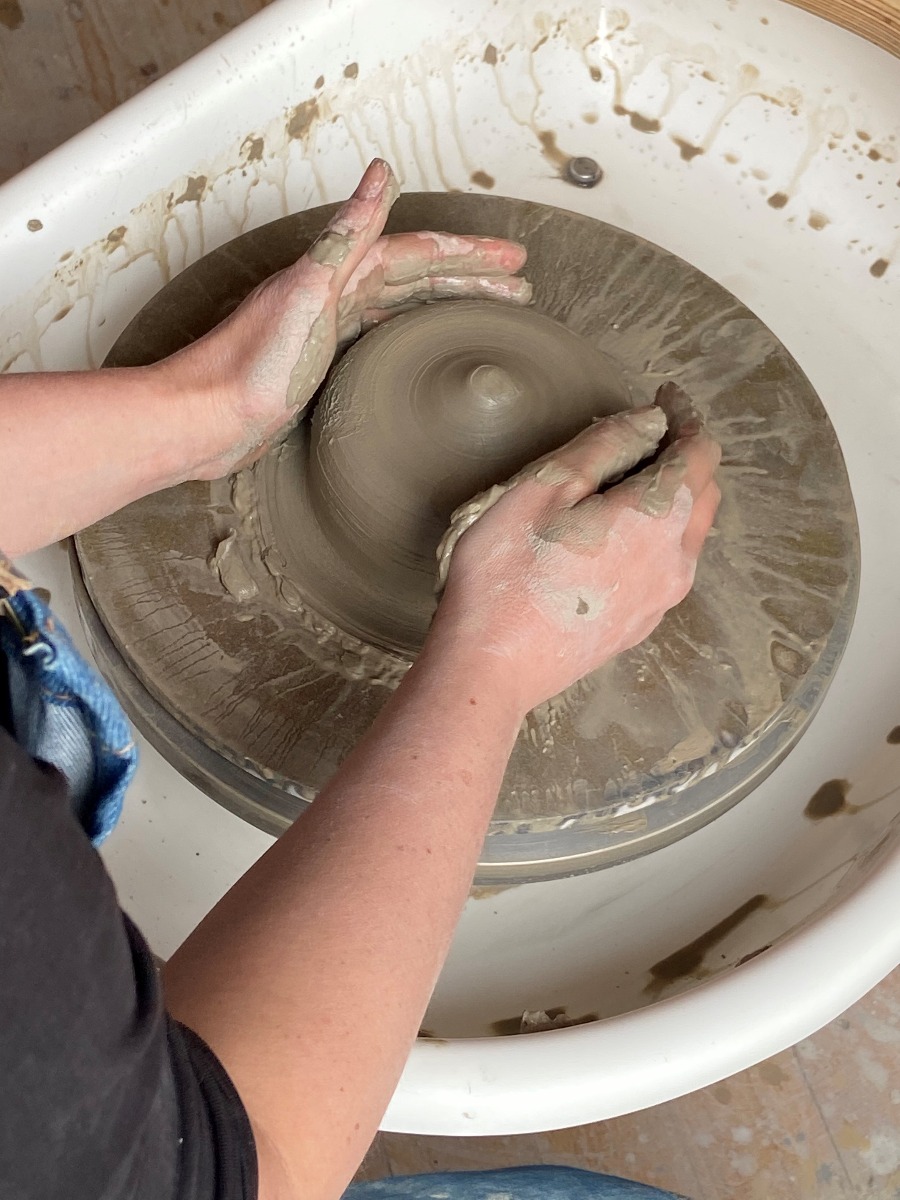
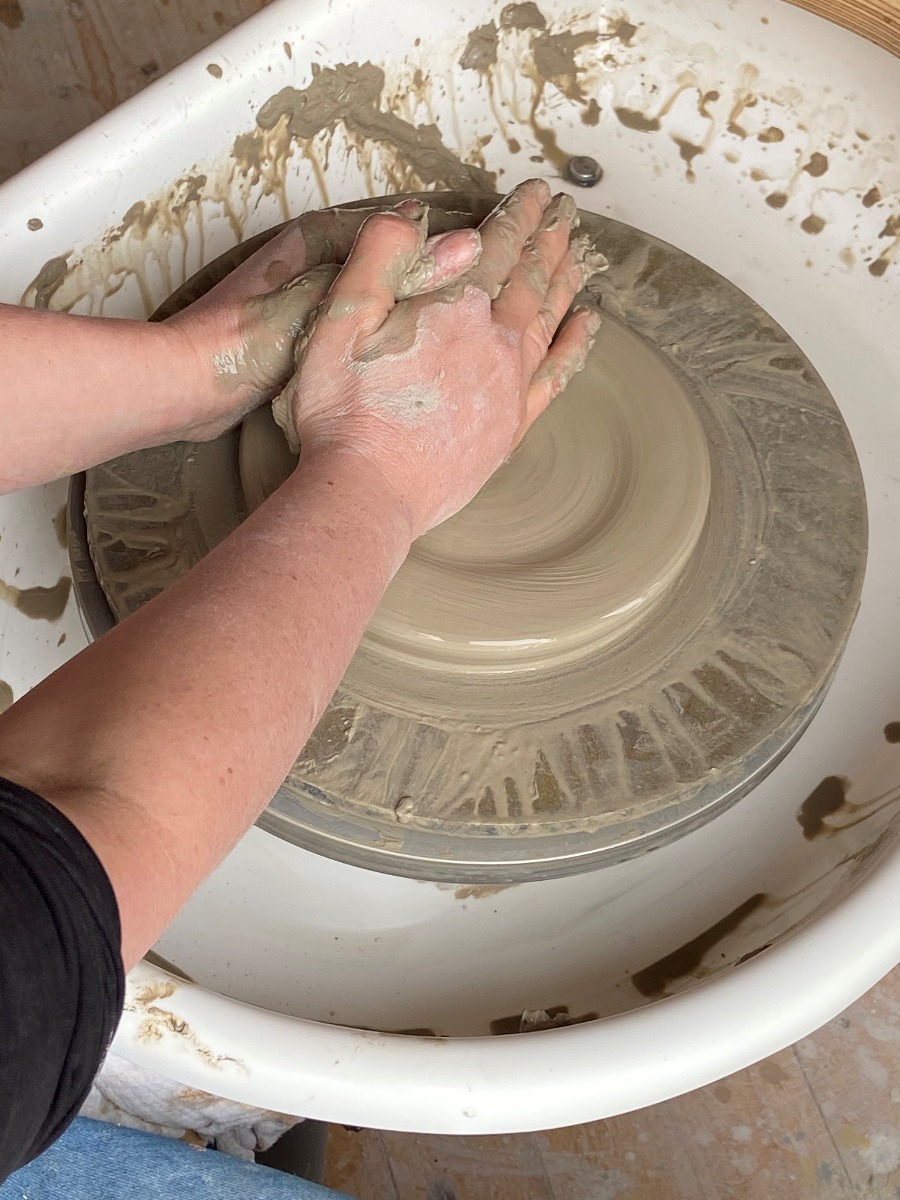
2) Using pressure from the edge of your hand, flatten
the clay to a thick disk.
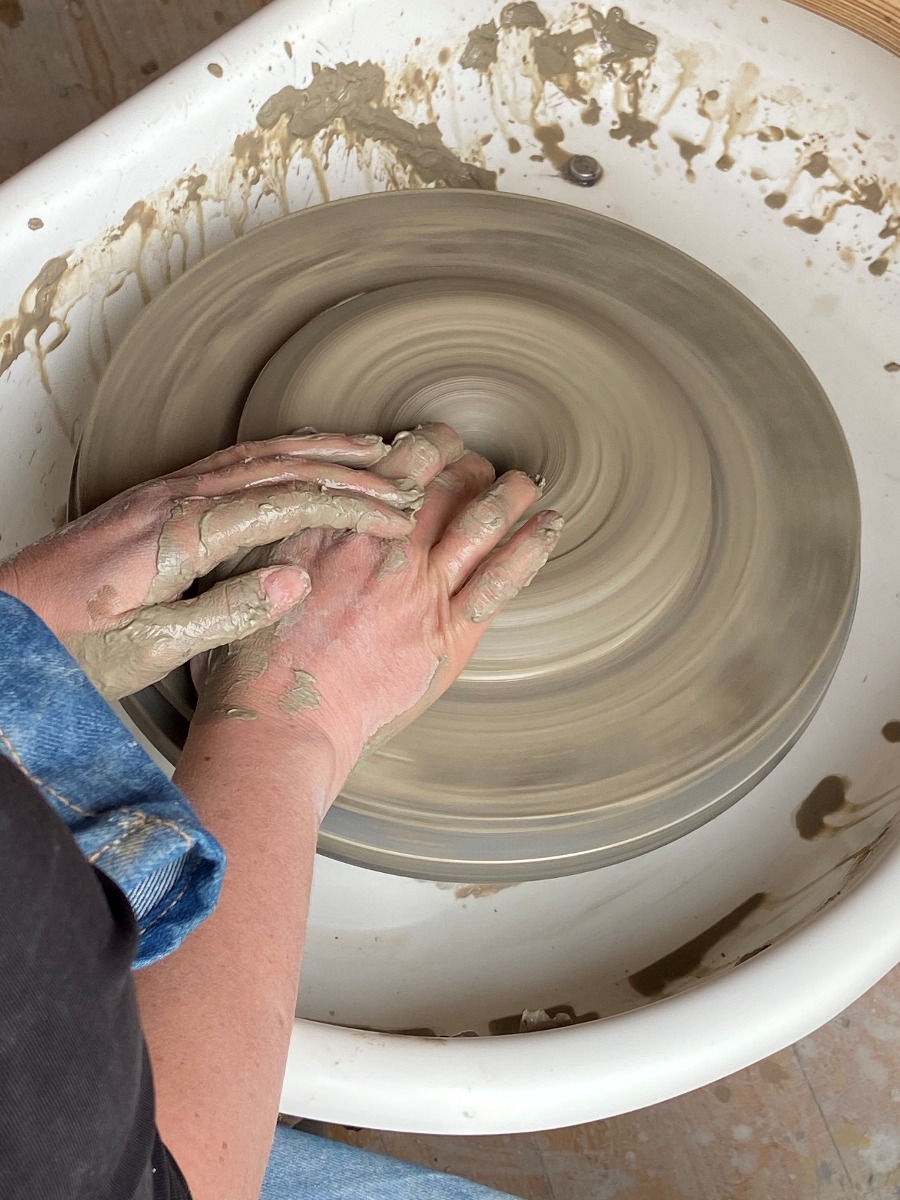
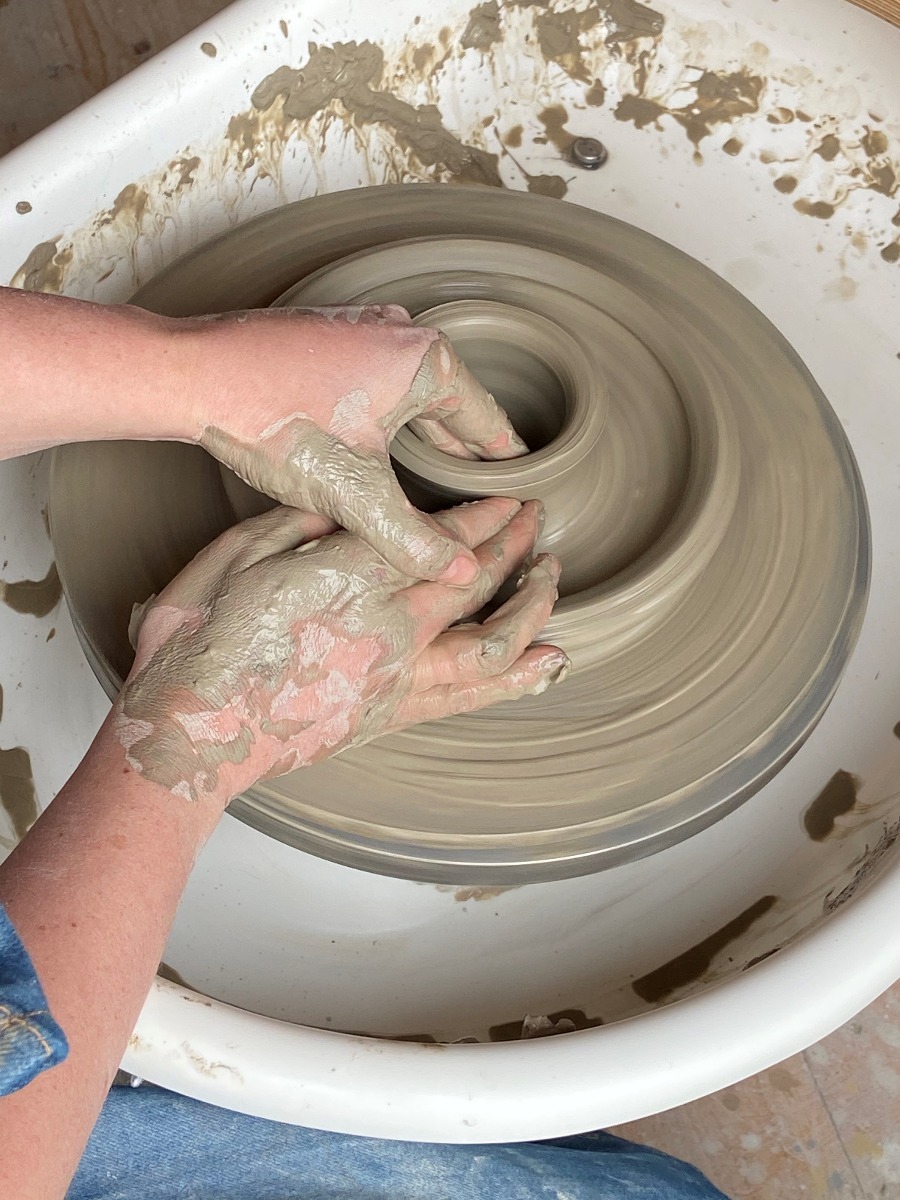
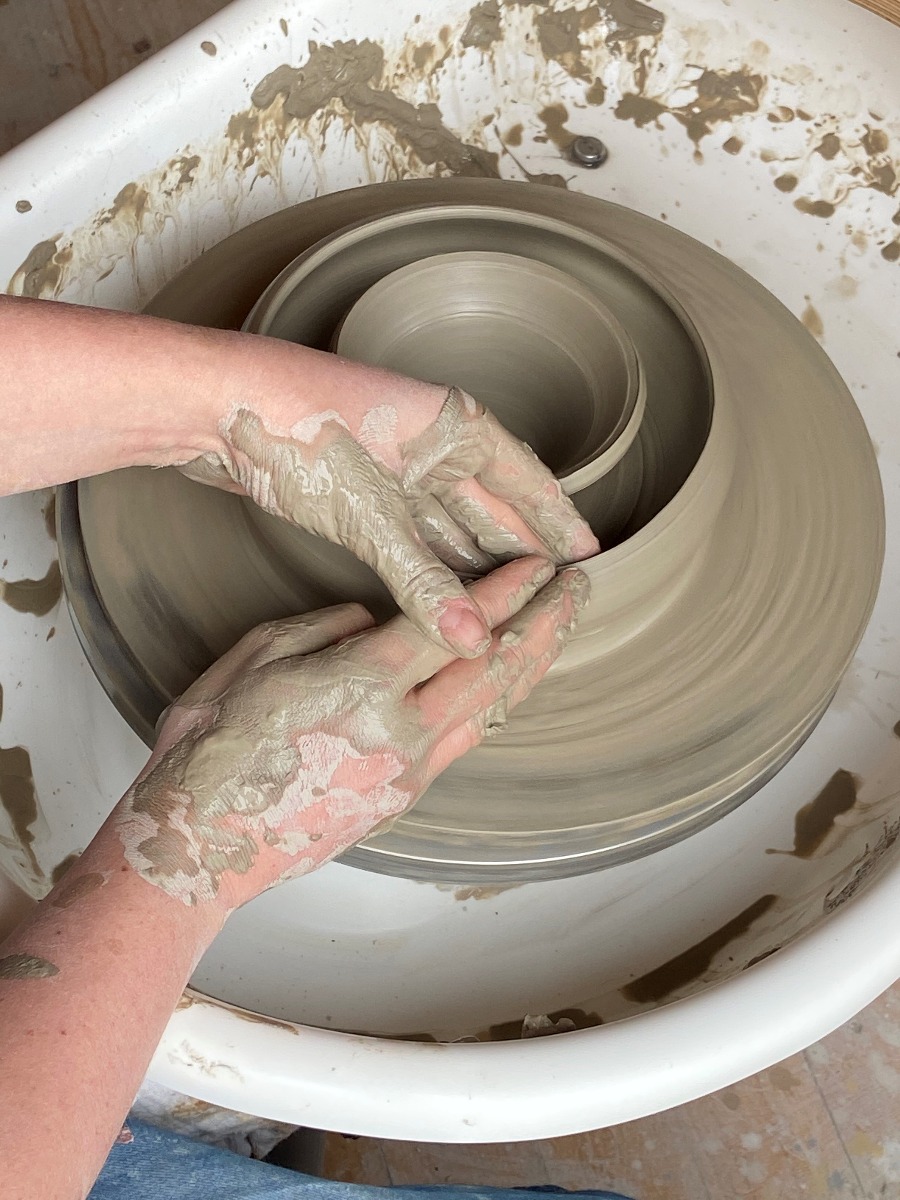
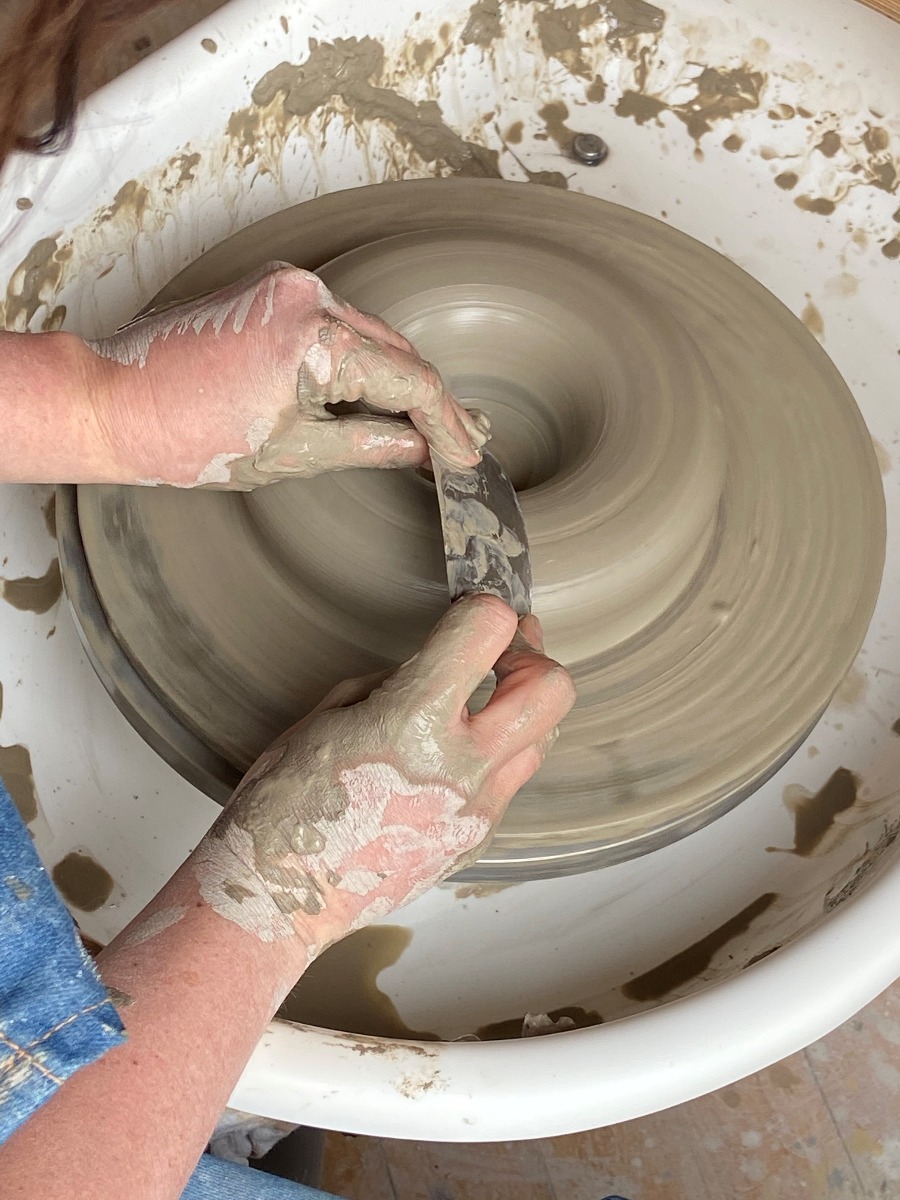
3) Open the centre of the clay all the way down to the
bat and gently pull towards you, creating an open ring
of clay.
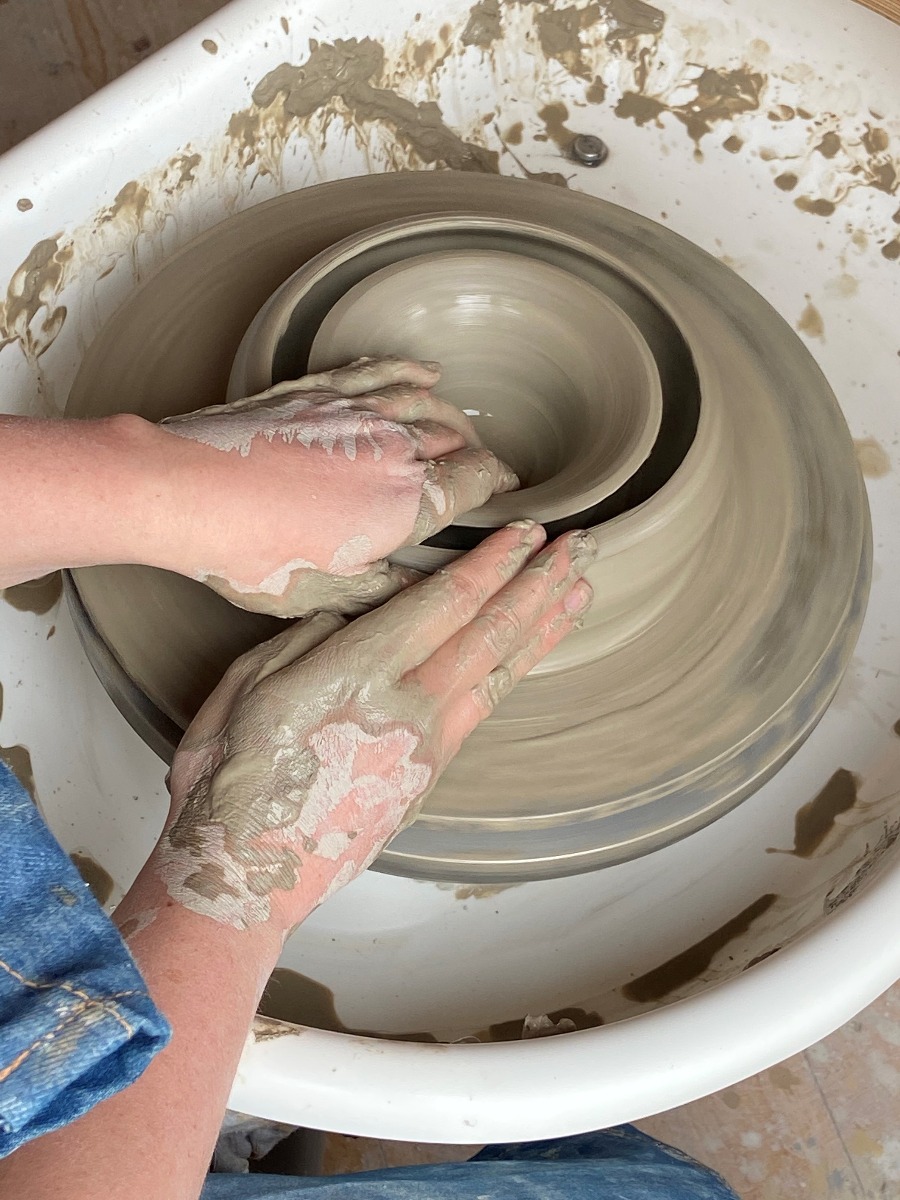
4) With your hand supporting the outside edge of the
clay, apply pressure to the centre of the clay ring with
your thumb.
5) Gently squeeze your thumb towards the palm of your
supporting hand to open up the ring and start creating
the outside wall.
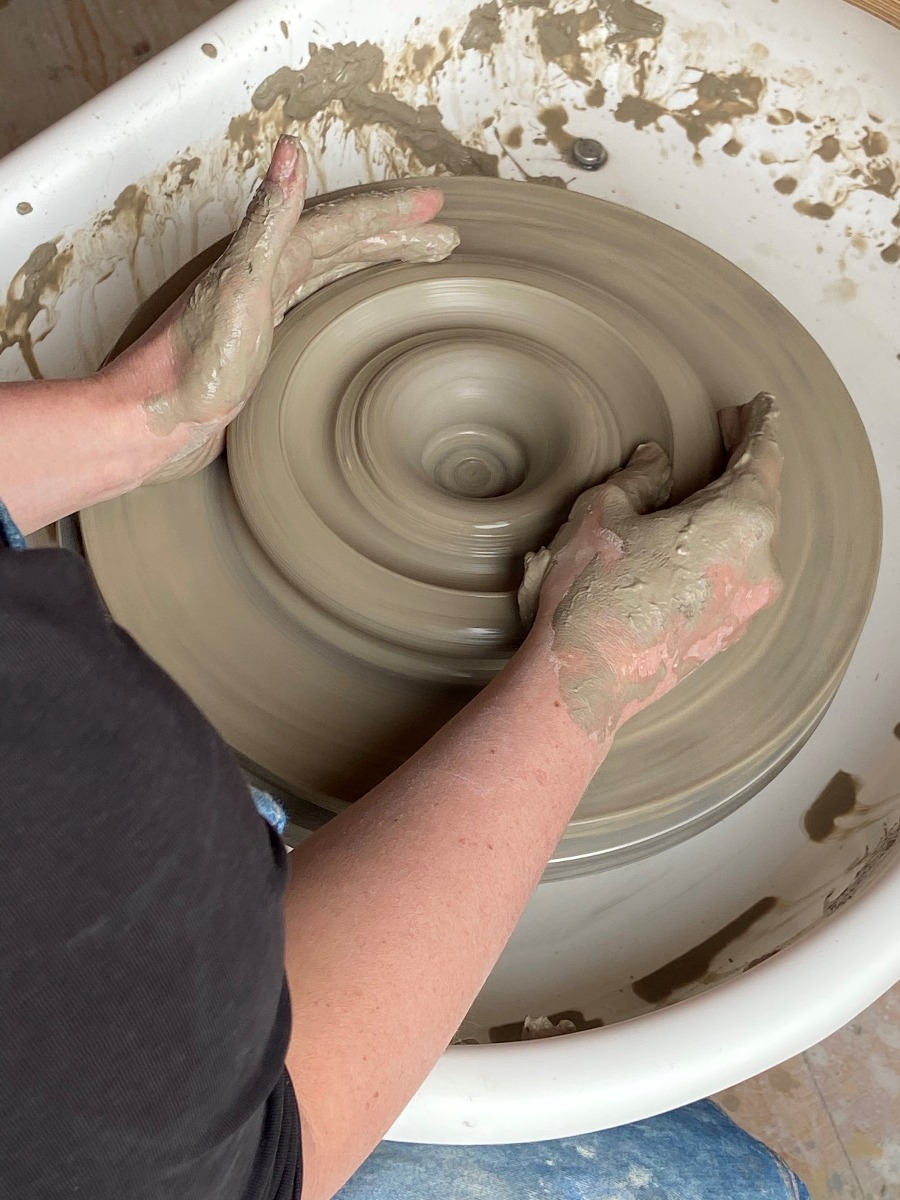
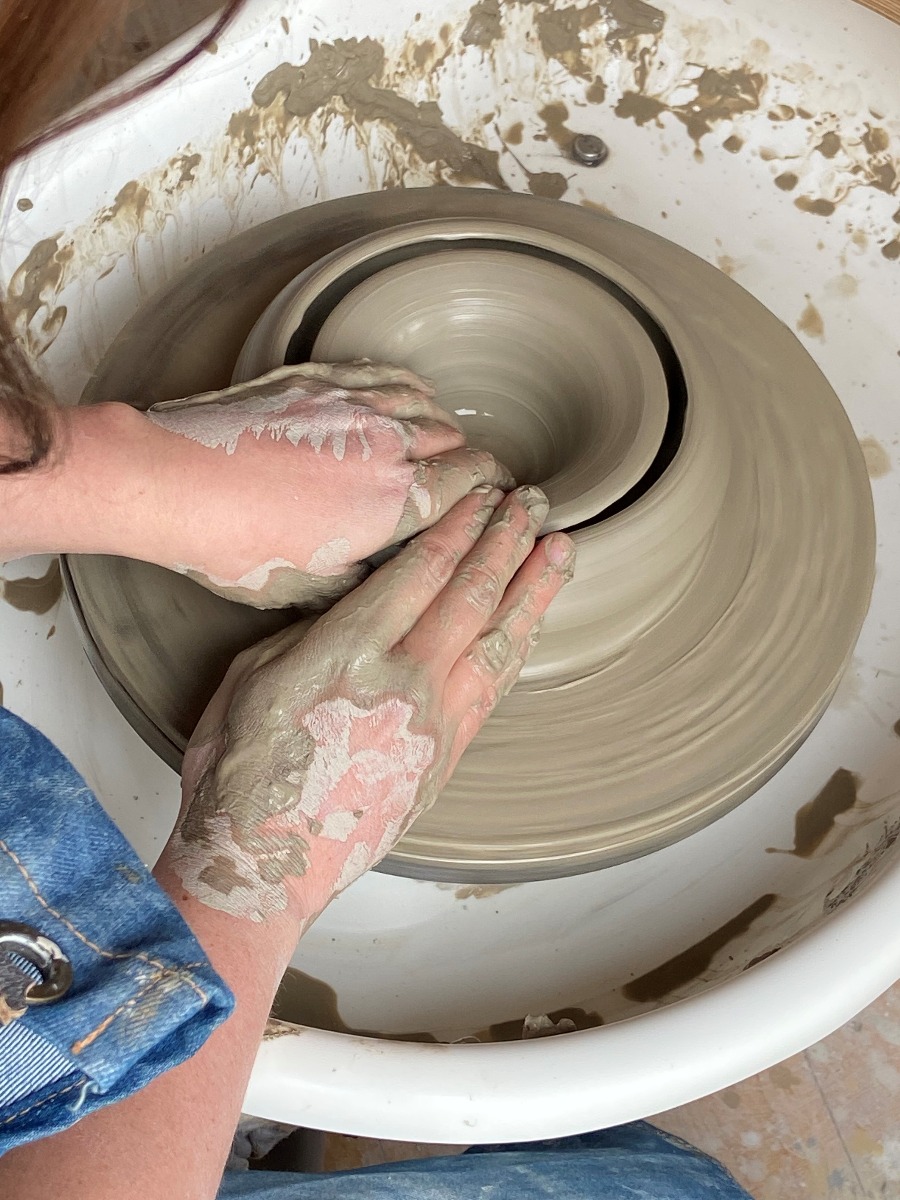
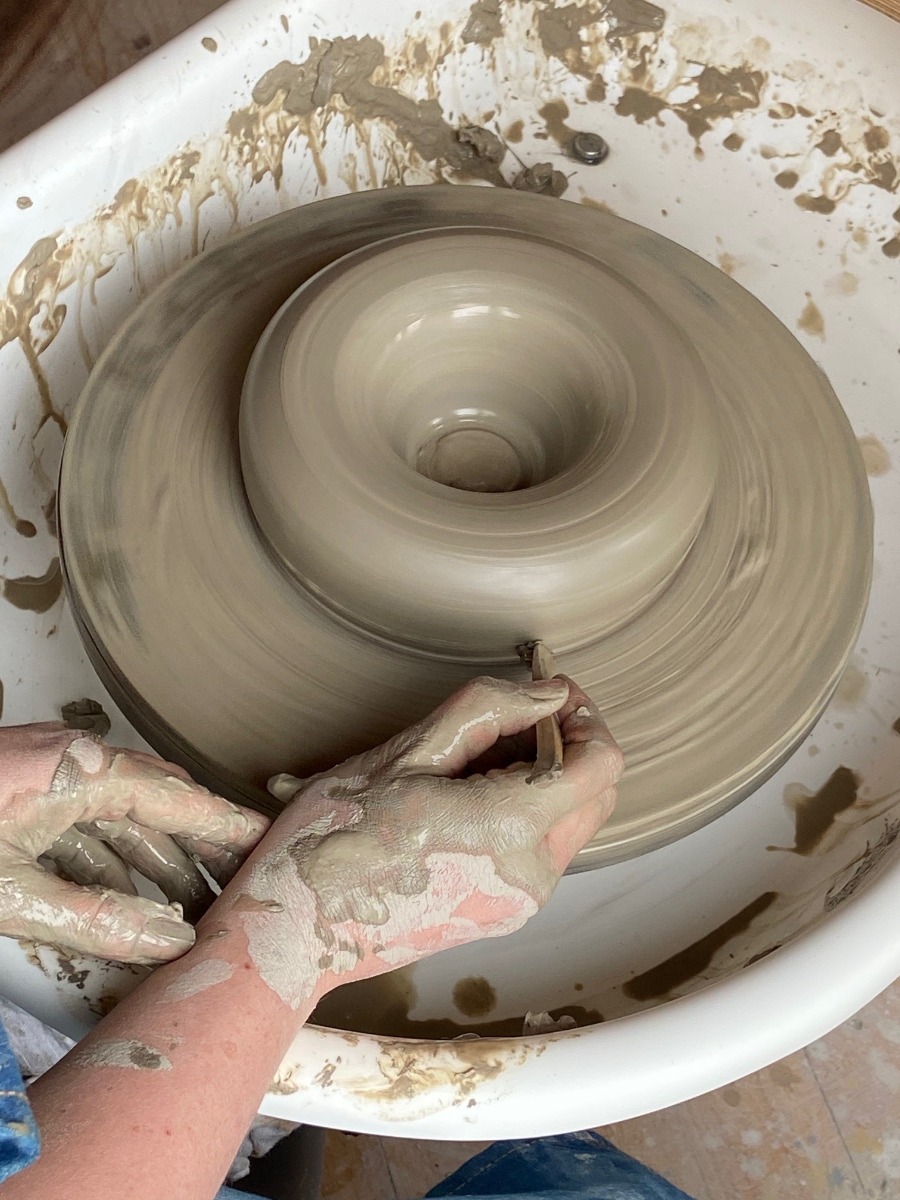
6) Move your hands to work on the inside wall, using
fingers inside and out to pull up a wall, as you would
normally do when pulling a pot.
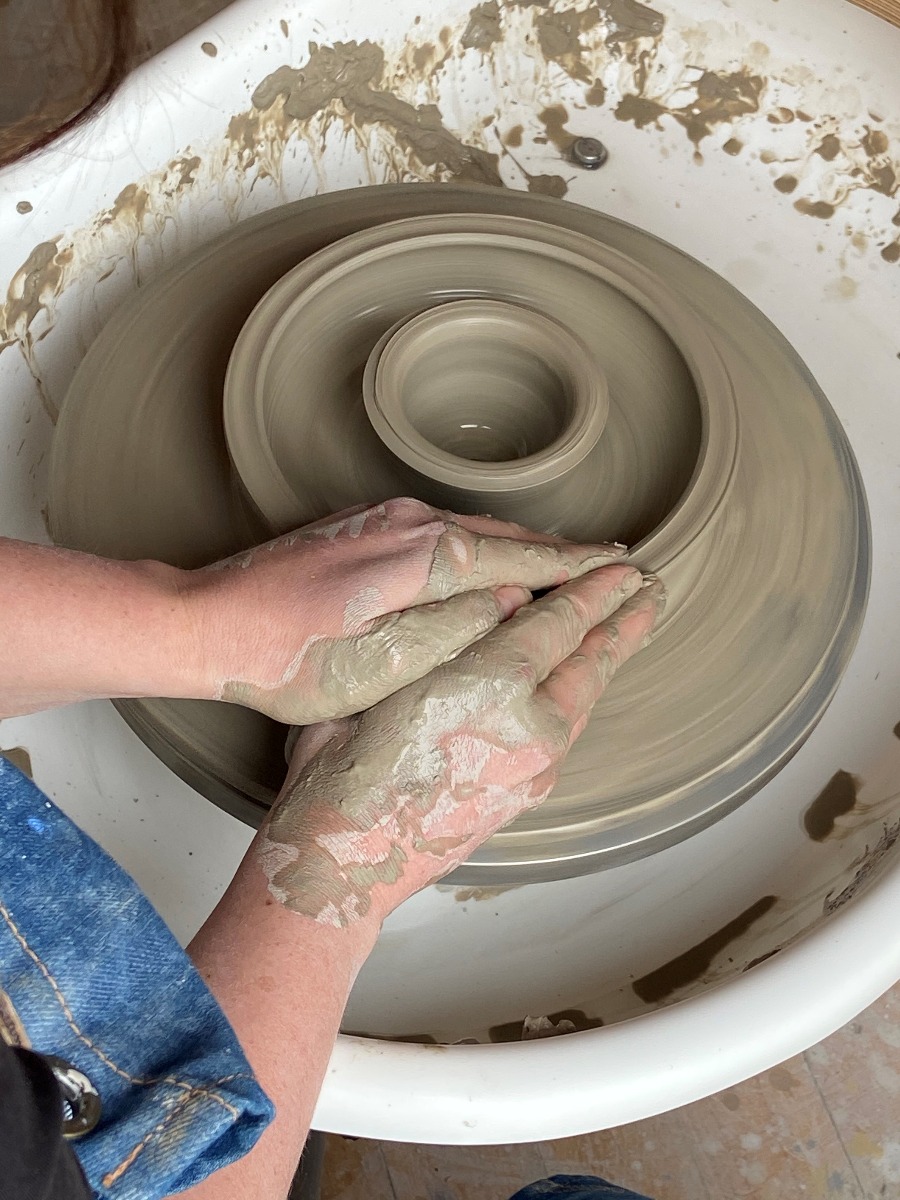
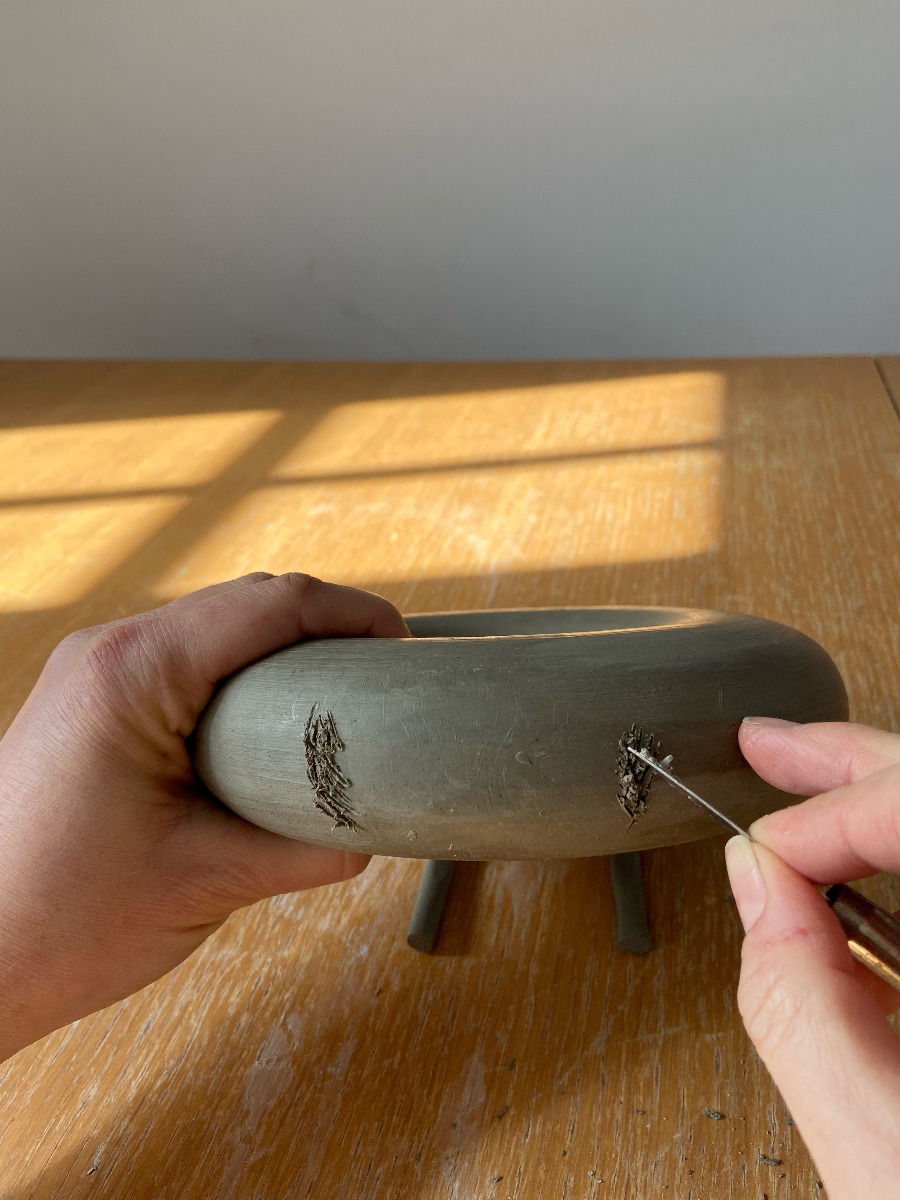
7) Move hands back to the outside wall and pull until the
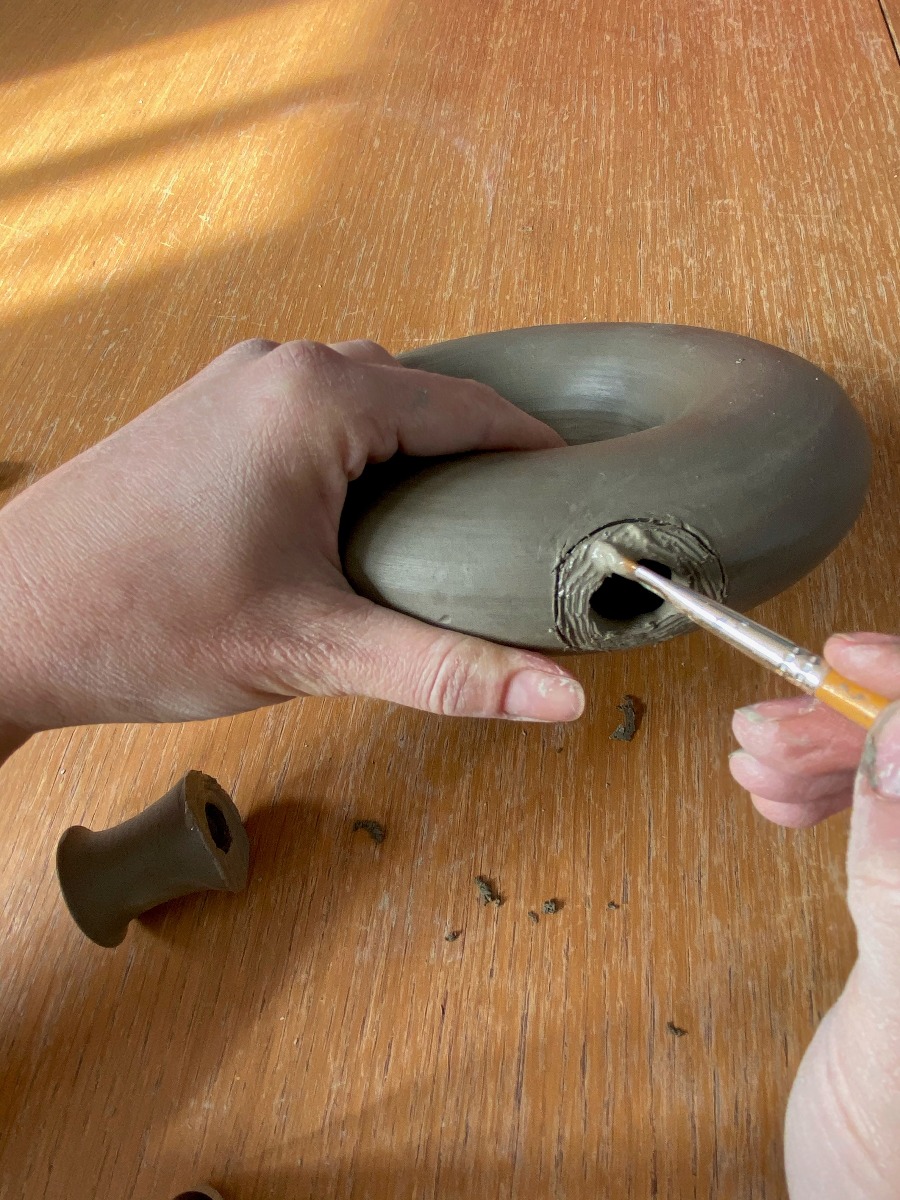
inside and outside walls are the same height.
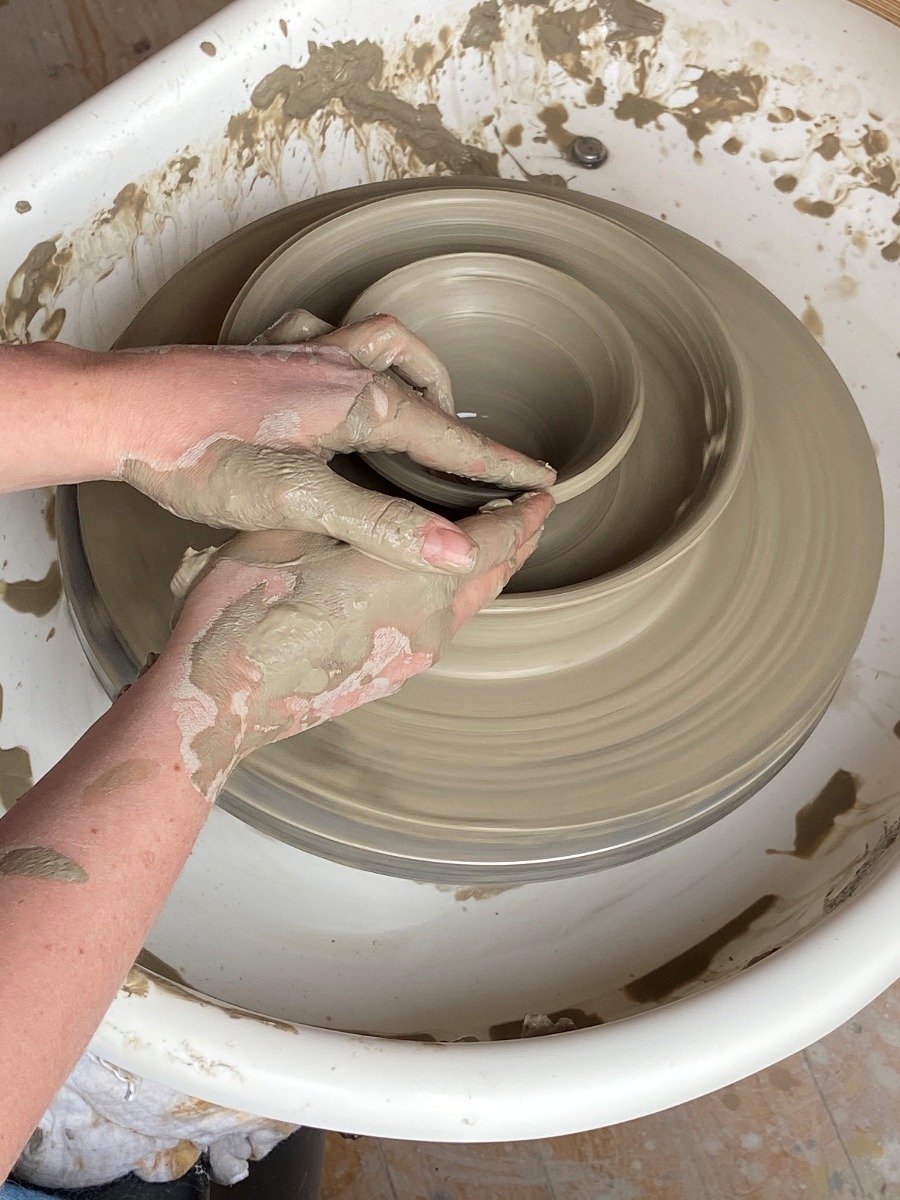
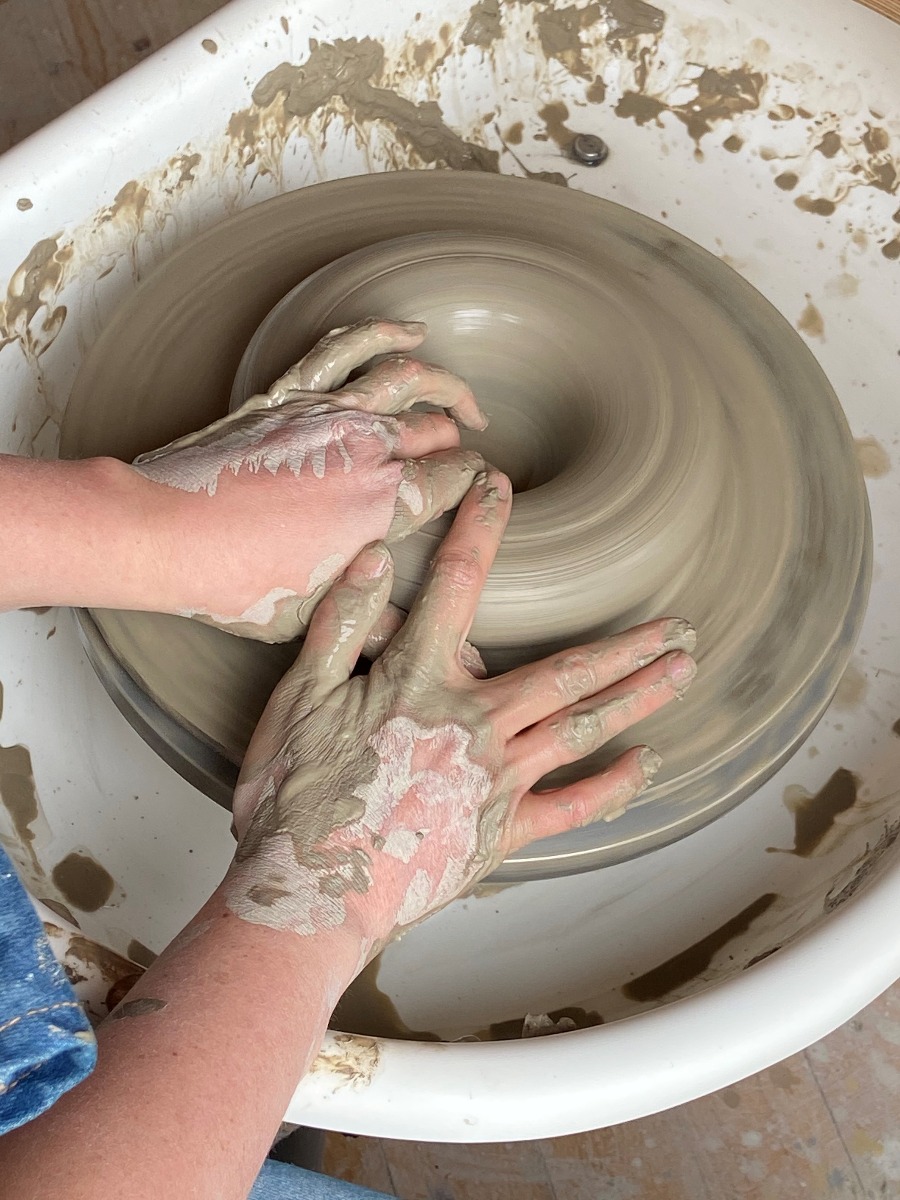
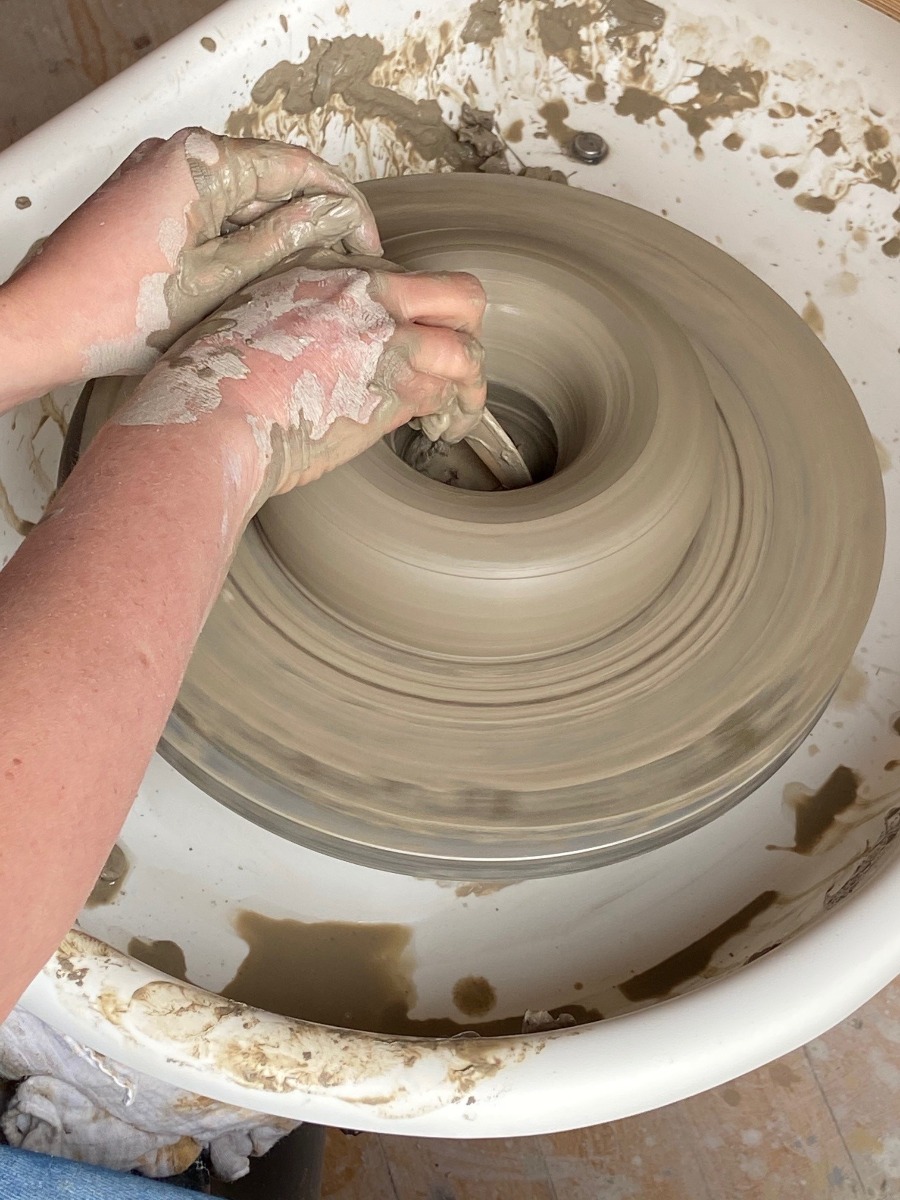
8) Alternate between the inside and outside walls.
Carefully start to bend the tops of the walls towards each
other.
9) When there is a small gap remaining between the
walls, use one hand in a claw shape to support the inside
and outside walls, and use a finger from the other hand
to rest on the top.
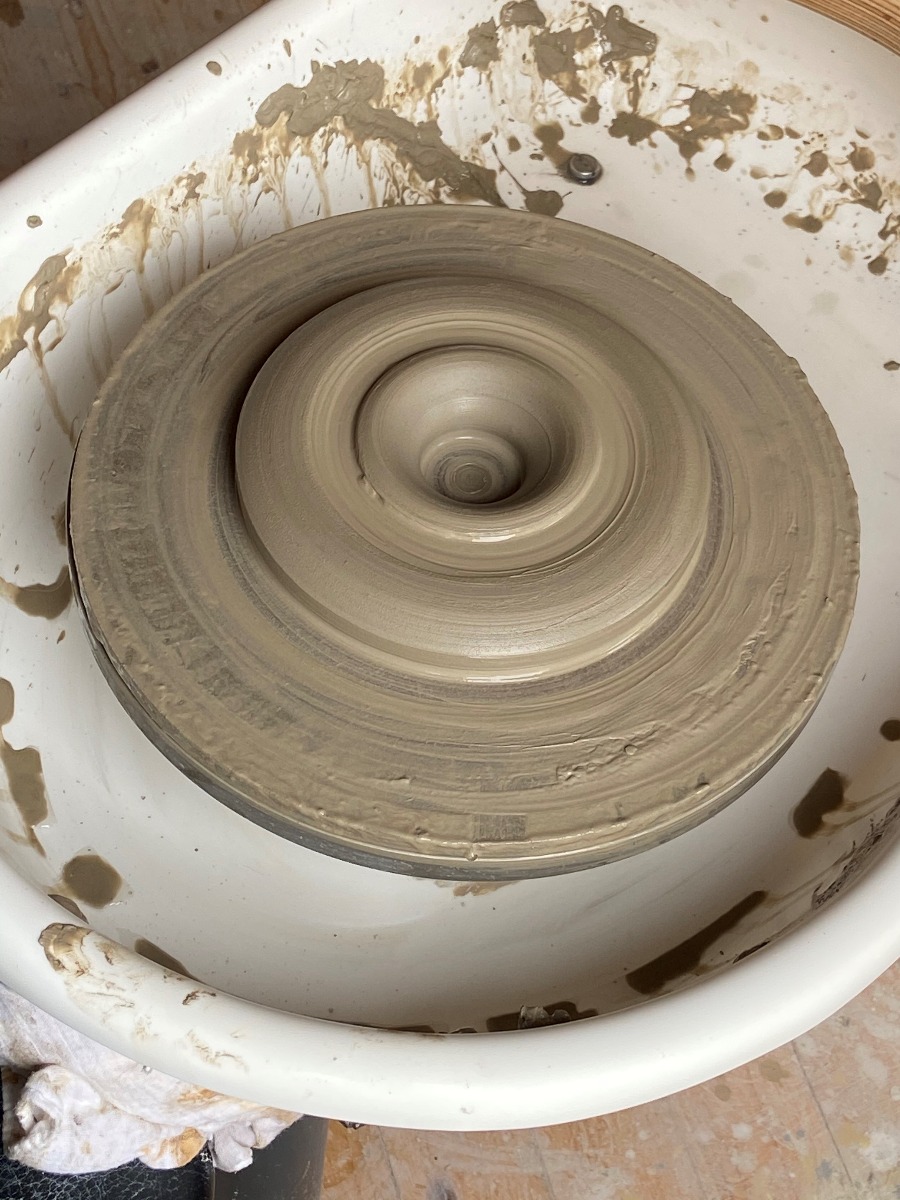
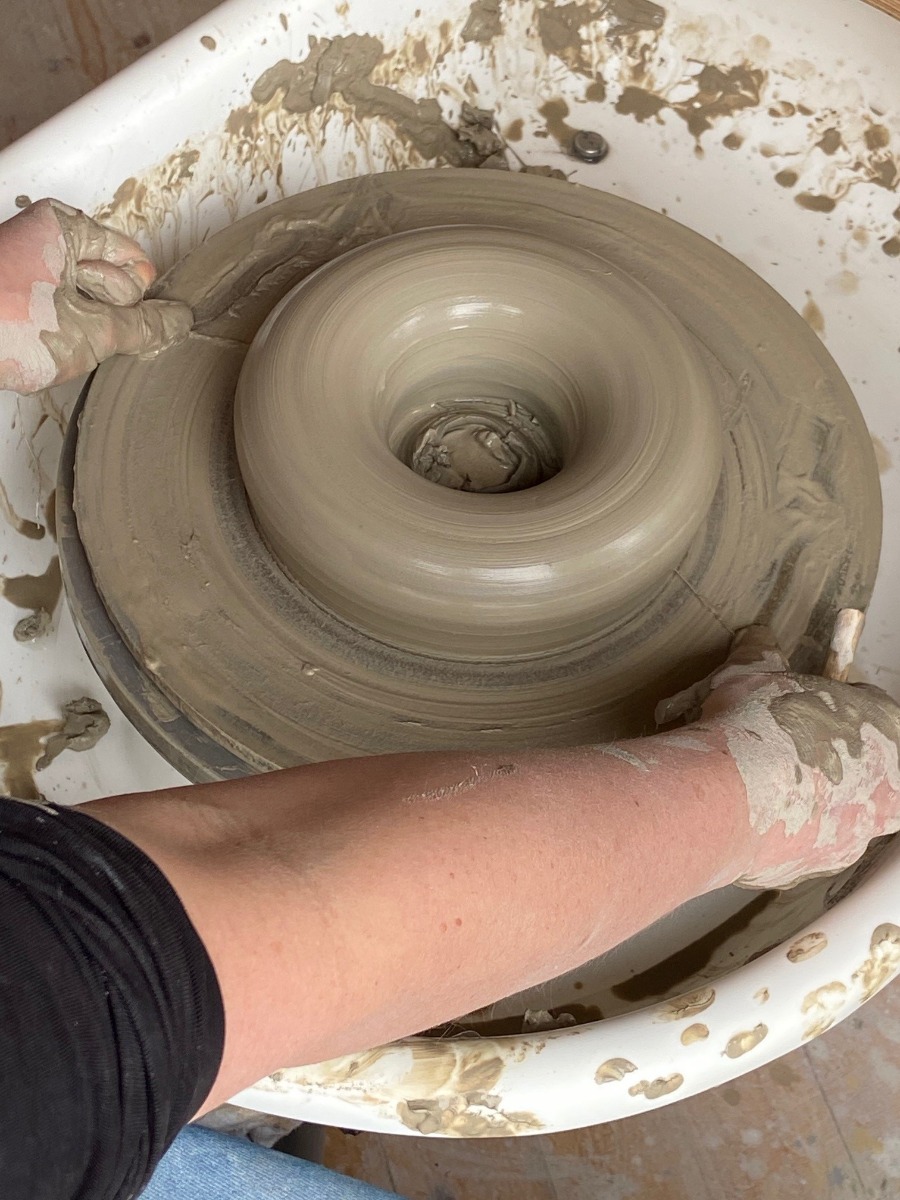
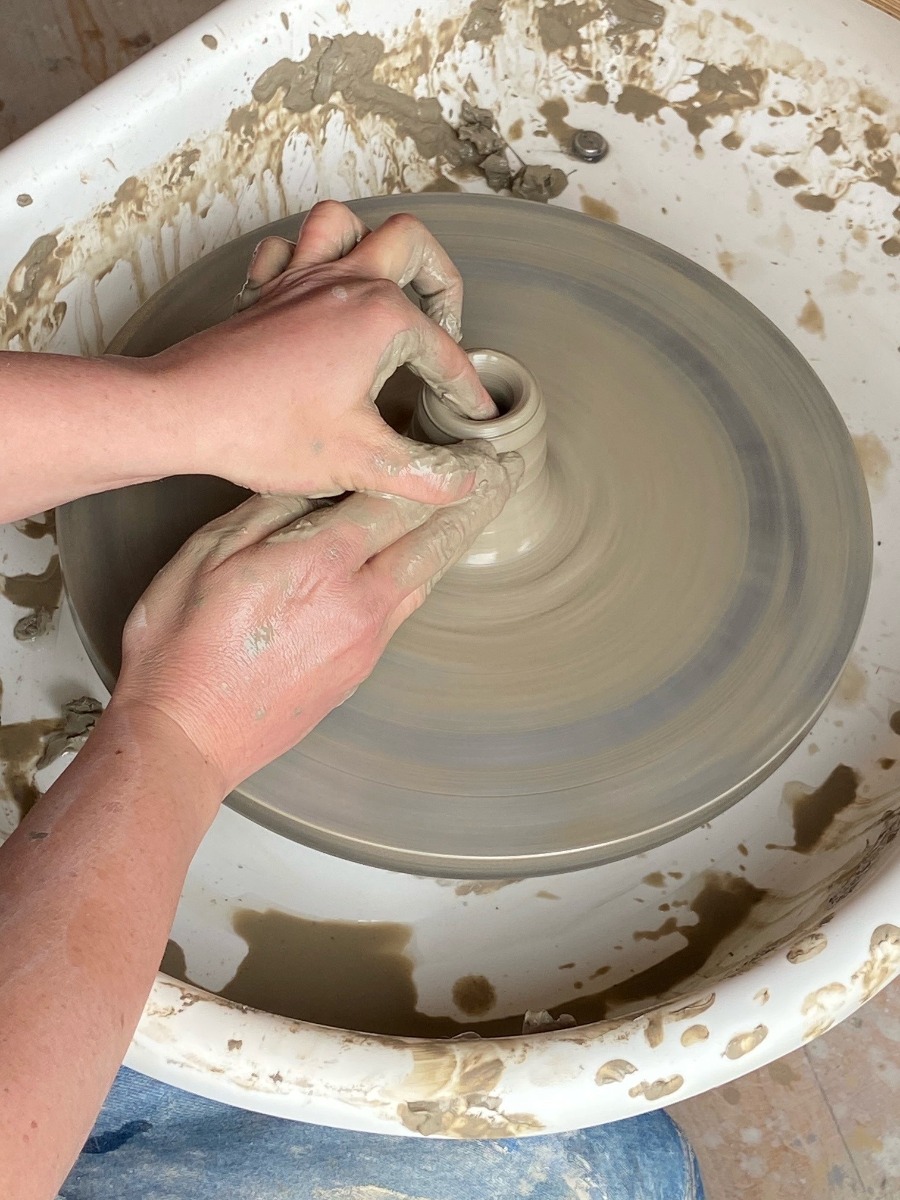
10) Gently apply pressure to the top of the walls to bring
them closer together, with finger resting on top until the
walls finally join together. Allow the closed ring to turn a
few times to create a strong bond.
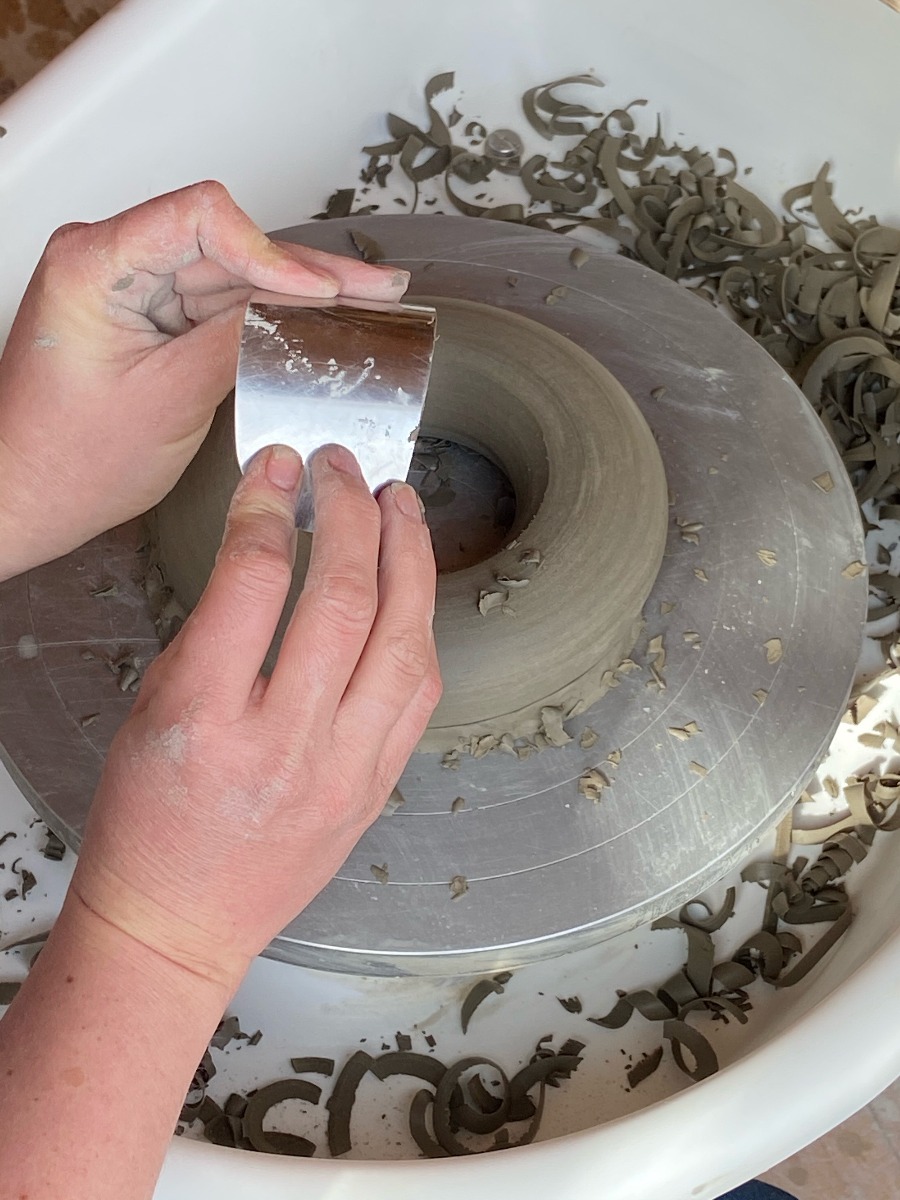
11) Using a metal rib bent into a ‘C’ shape, smooth over
the top of the ring to remove excess slip.
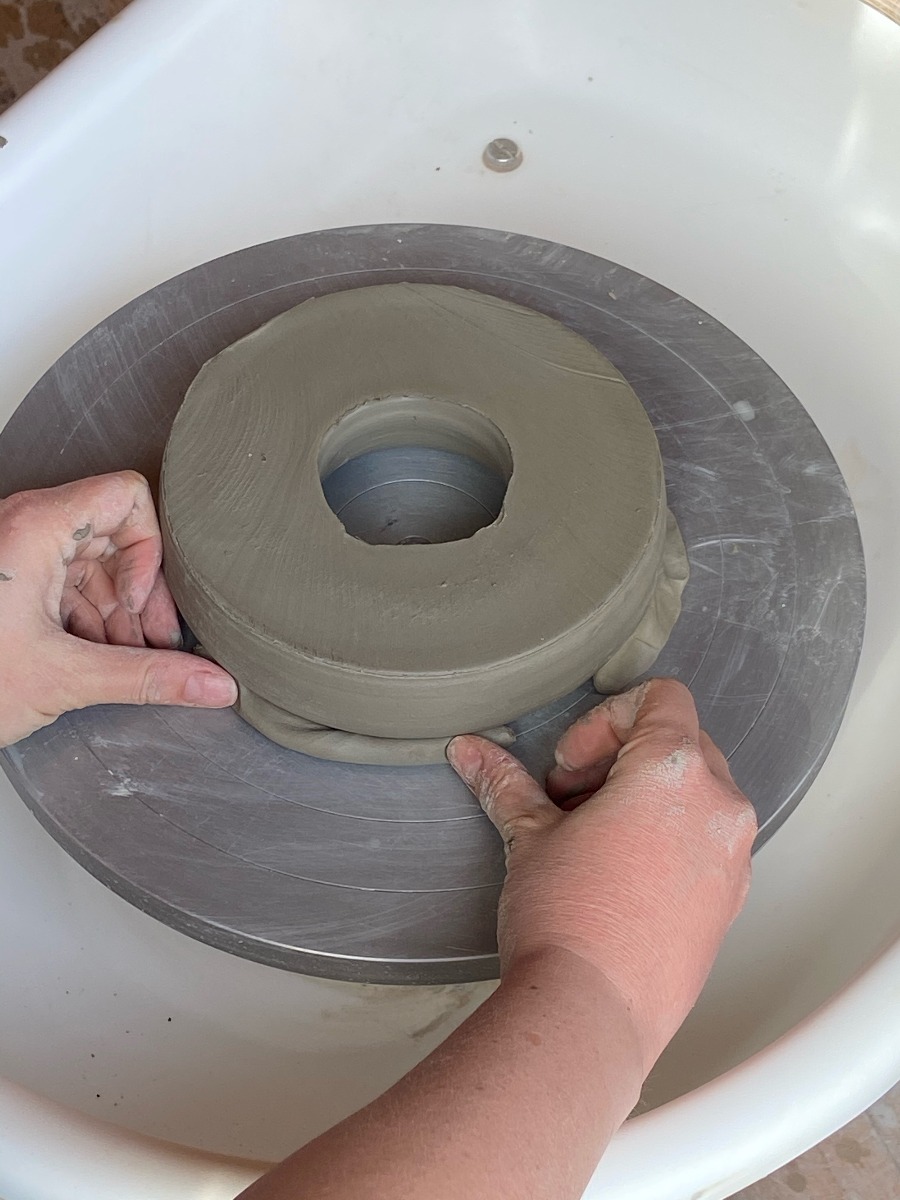
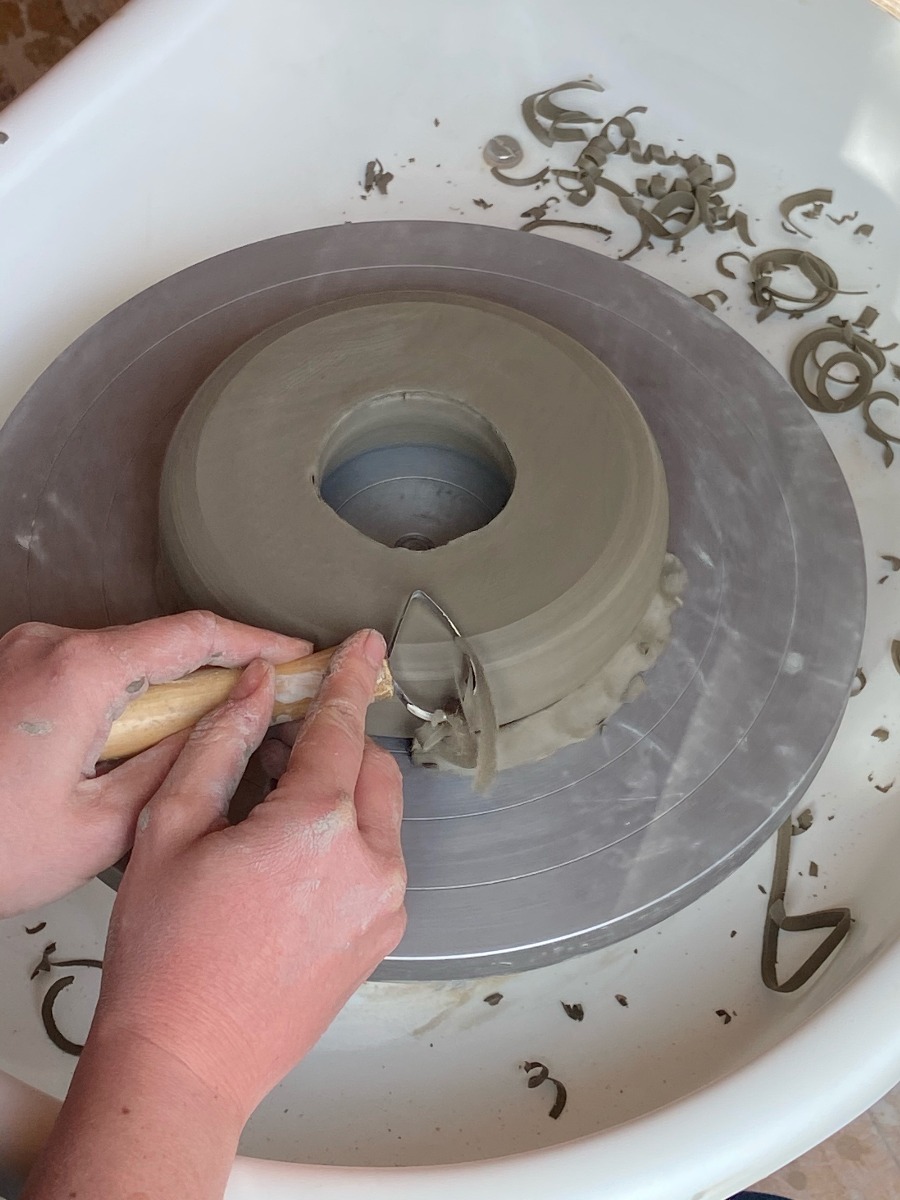
12) Remove some of the excess clay from the base with
a wooden trimming tool.
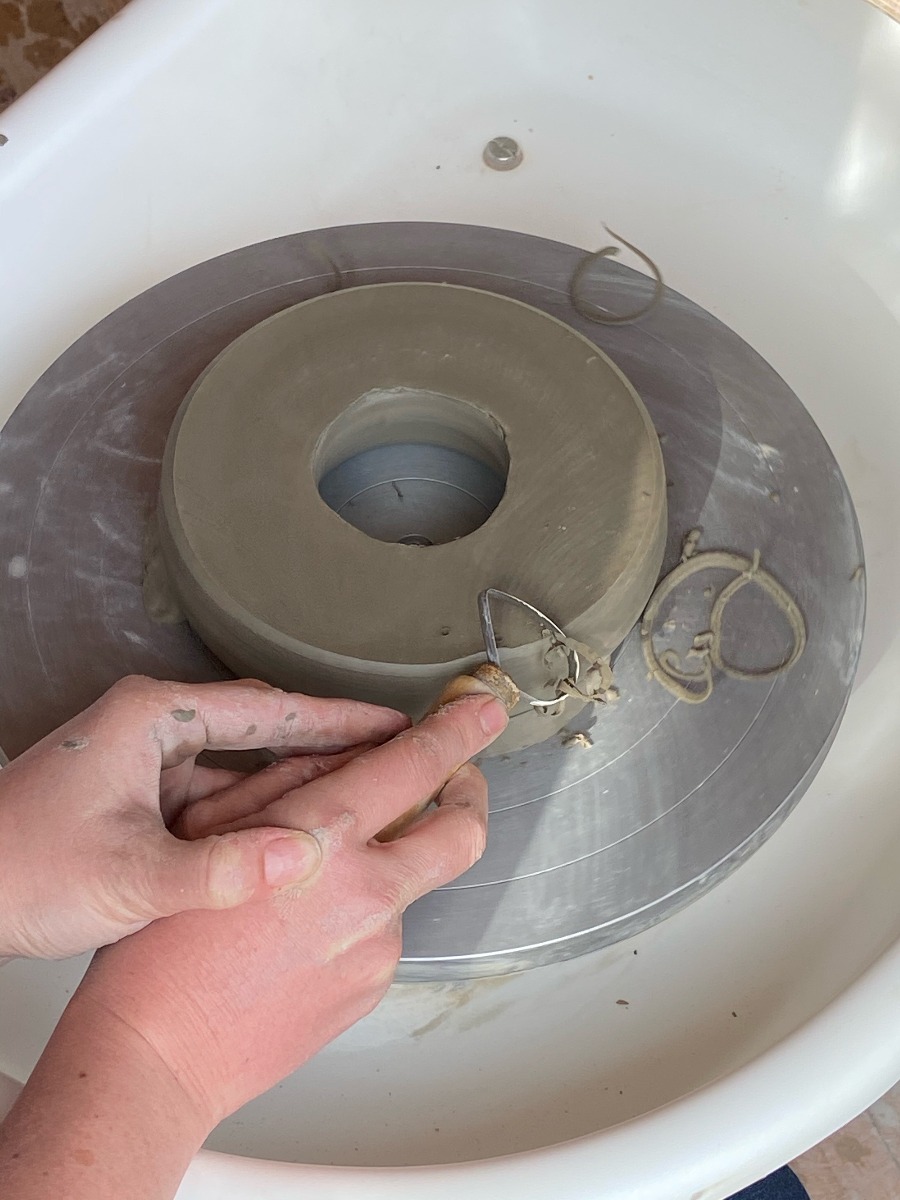
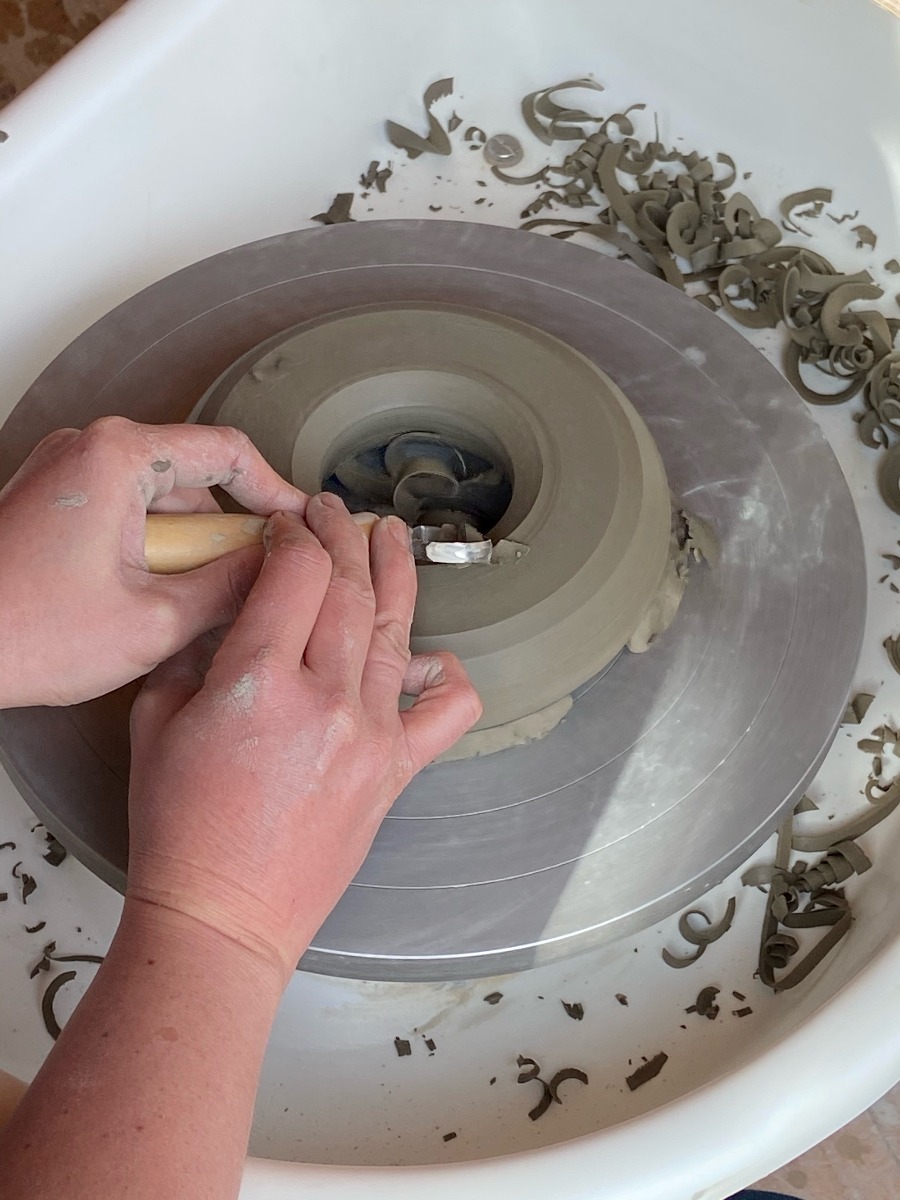
13) Run a wire under the ring, remove the bat from the
wheel and allow to dry to a leather hard state.
14) To make the neck of the bottle, centre a small ball
of clay.
15) Open the clay with your thumb and pull up a small wall.

16) Pull the clay to the desired height and shape for the
bottle. Run a wire through the clay at the base of the
neck, but allow to dry to leather hard before removing.
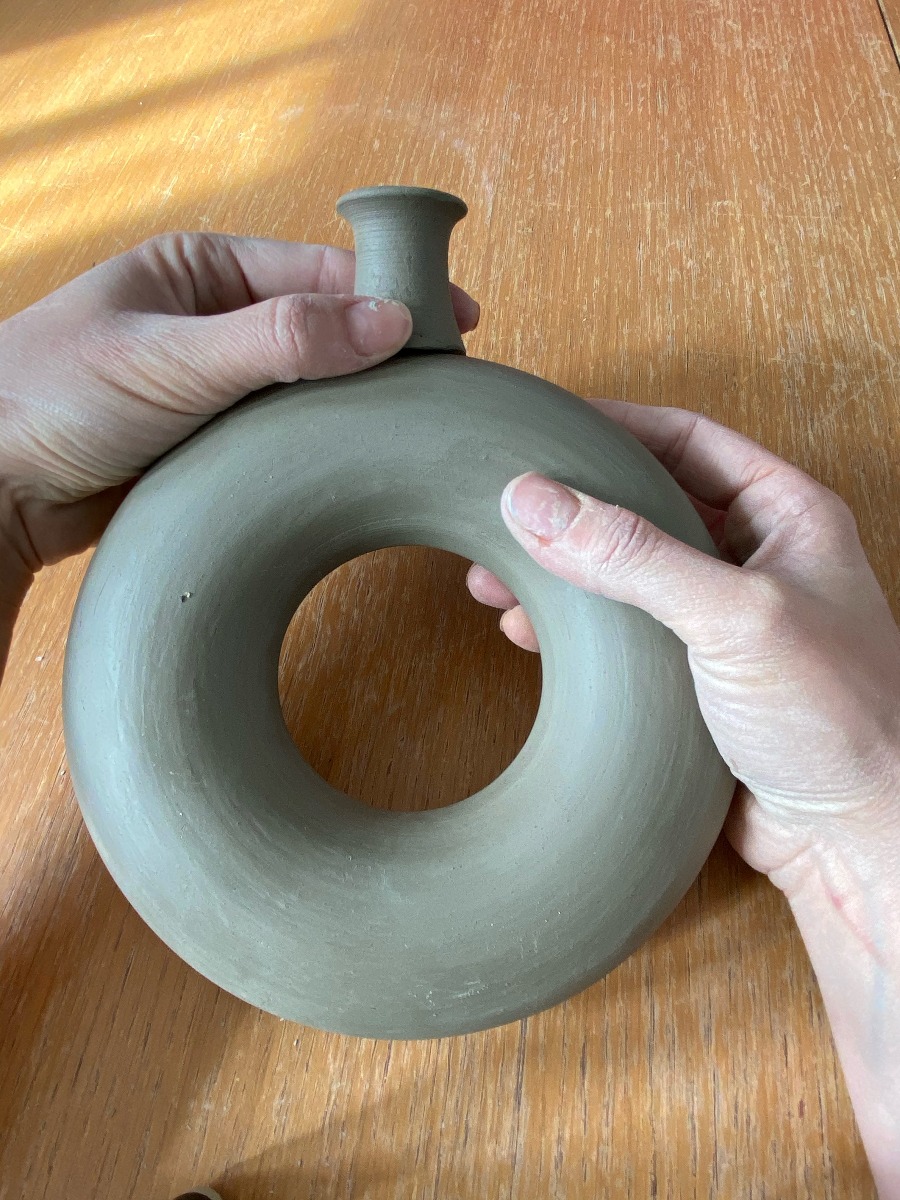
17) Once the ring is leather hard, turn it over and secure to
the middle of the wheel.
18) Use a turning tool to remove excess clay from the
inside and outside edges. Continue to shape it until it
has a curved shape that matches its opposite side.
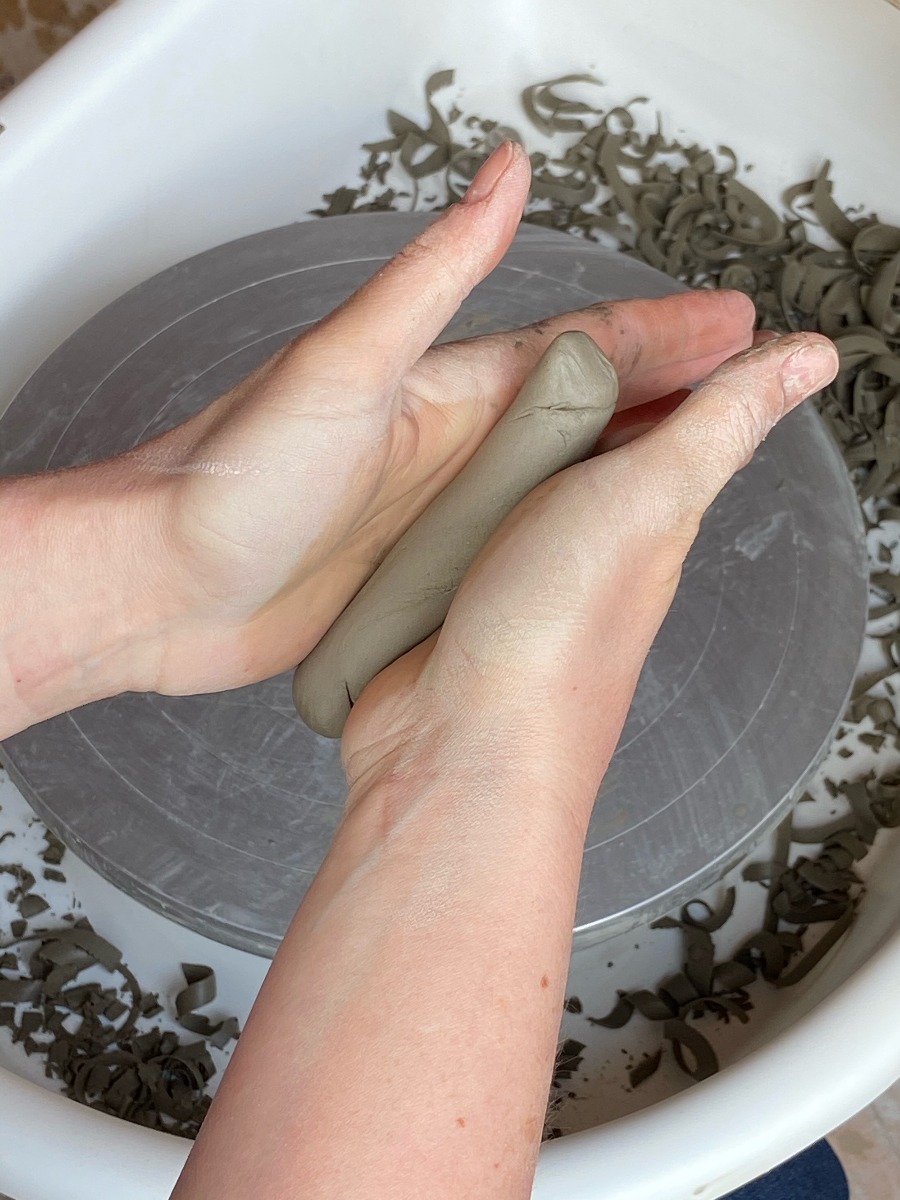
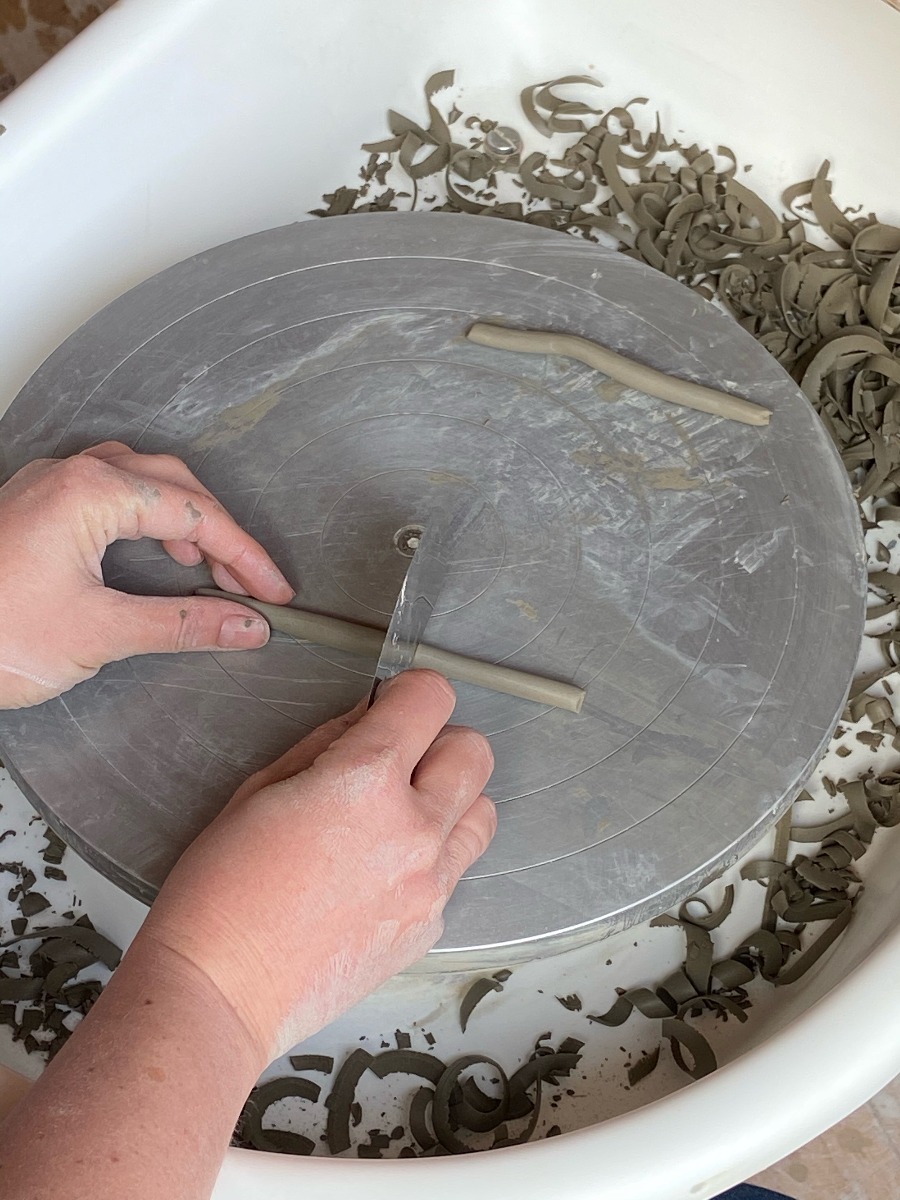
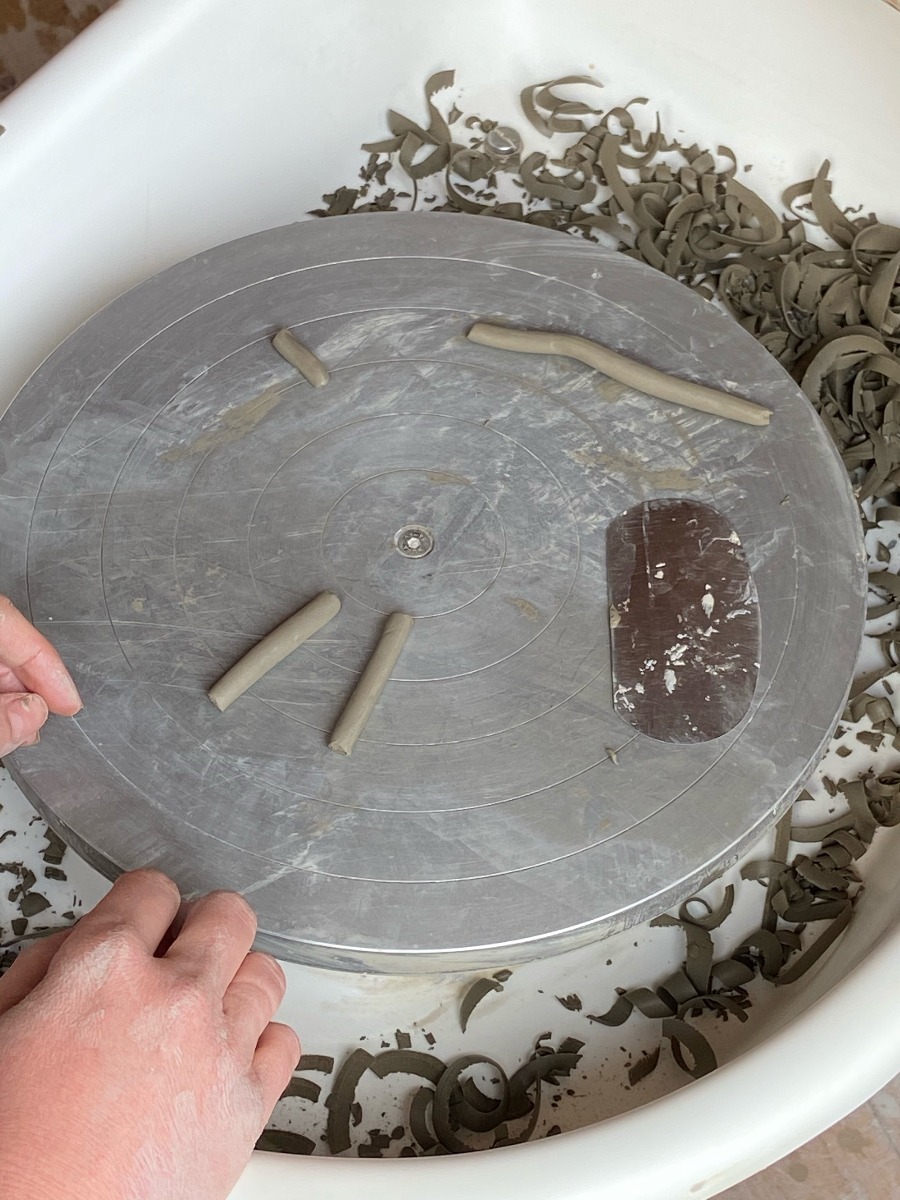
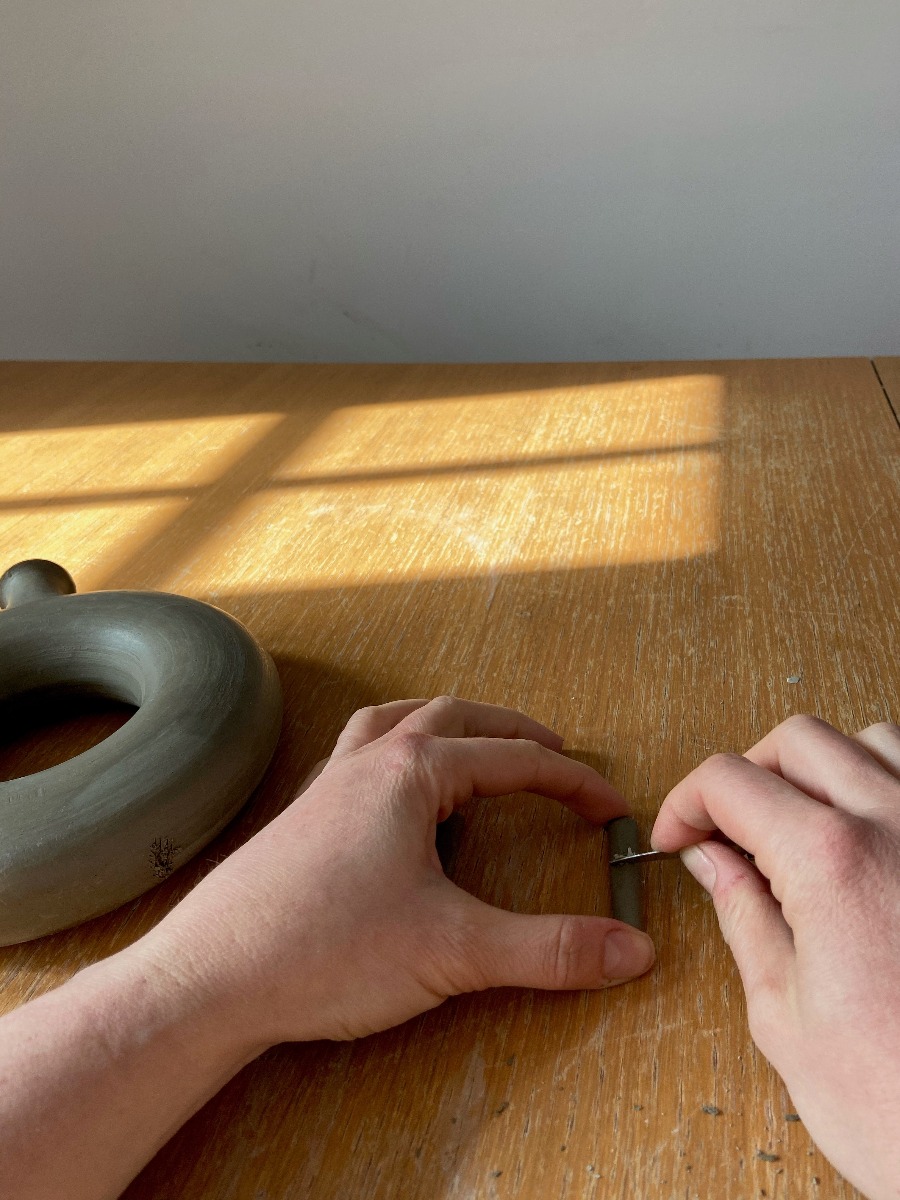
19) Roll a small piece of clay into a sausage shape and
cut two pieces to equal lengths (these will attach to the
bottom of the bottle to stop it falling over).

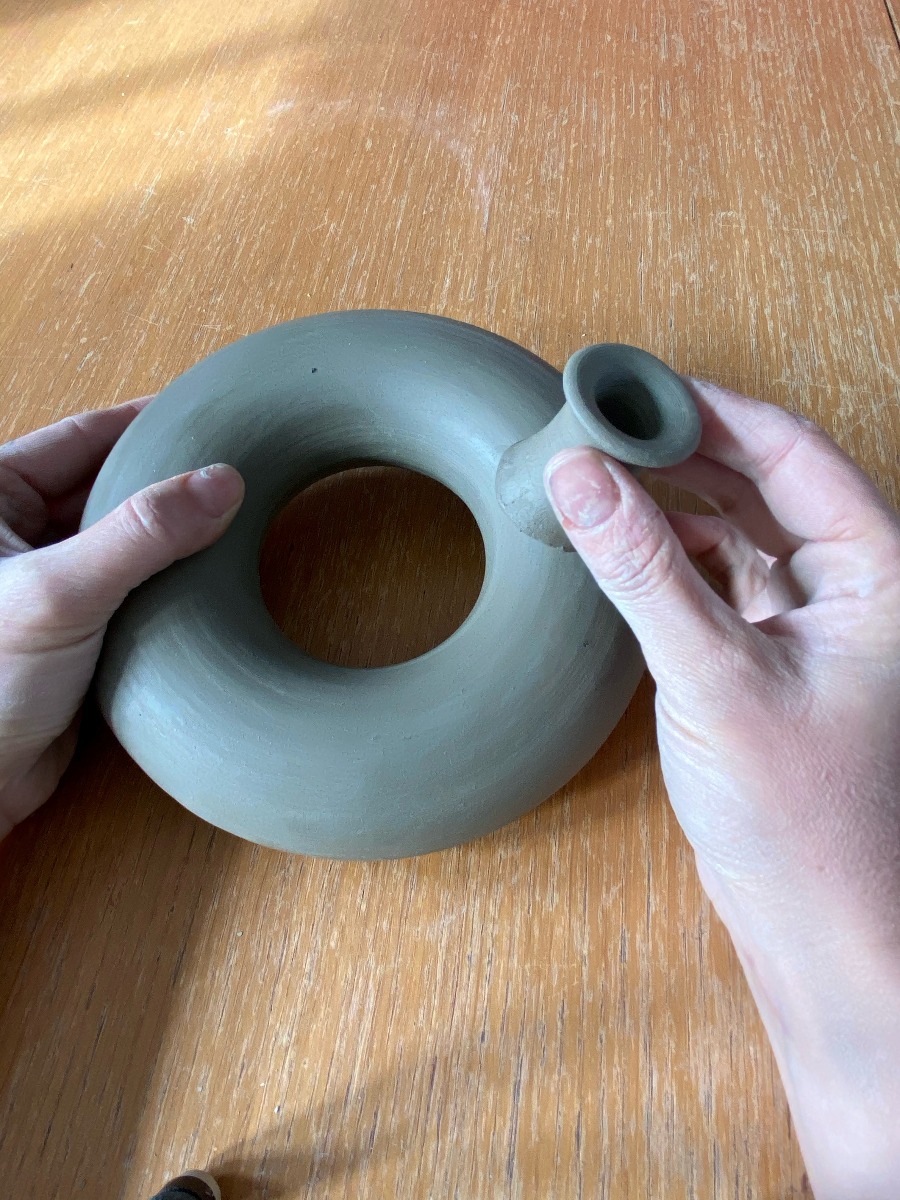
20) Take the neck of the bottle and decide where to place
it on the ring and score around it.
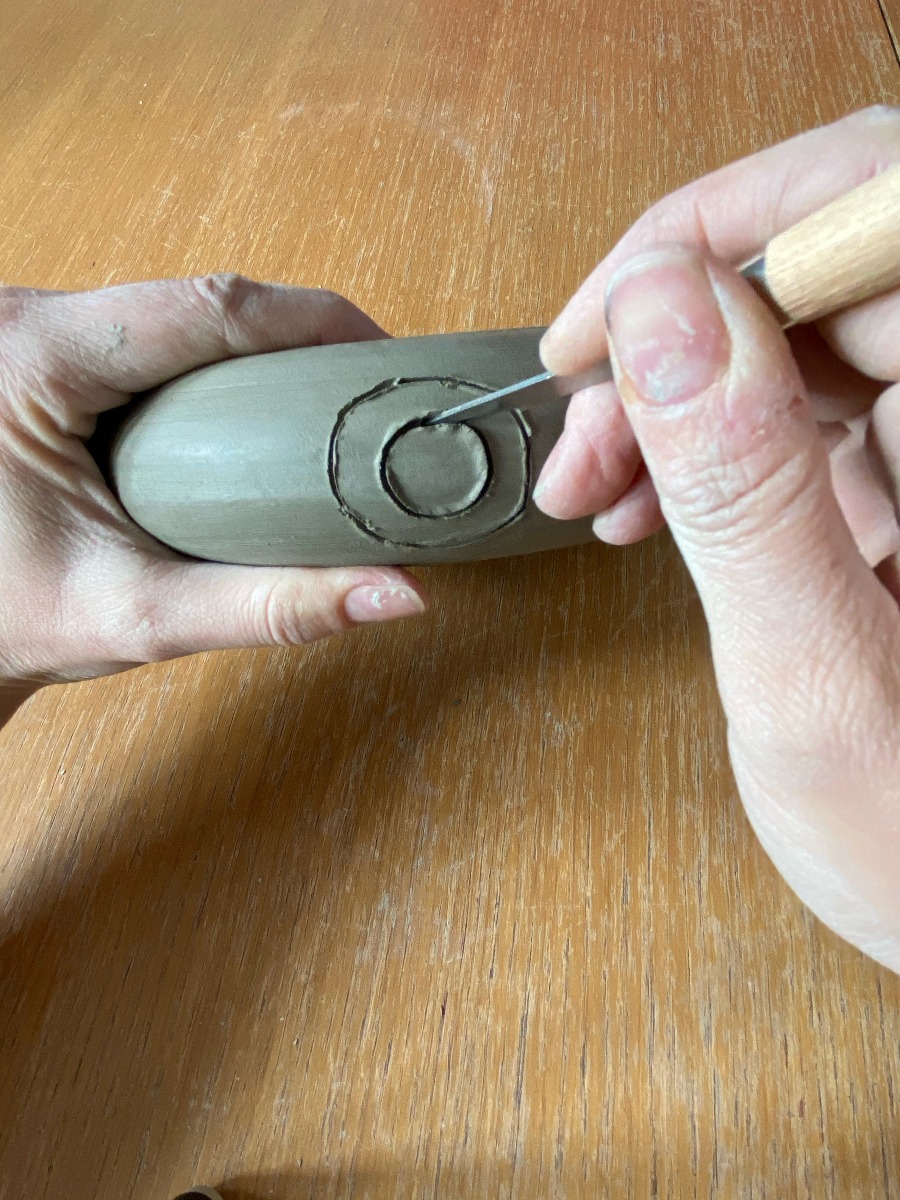
21) Take the neck of the bottle and decide where to place
it on the ring, and score around it.
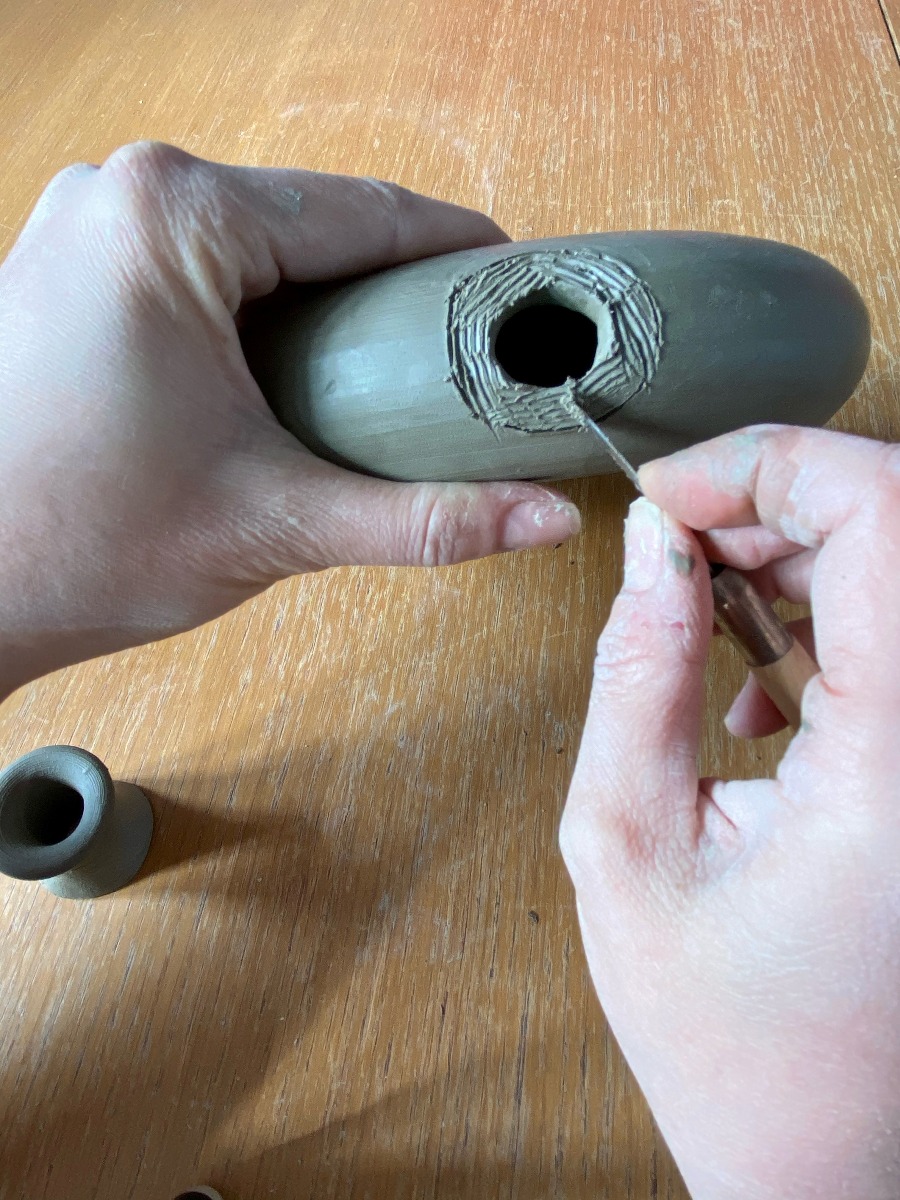
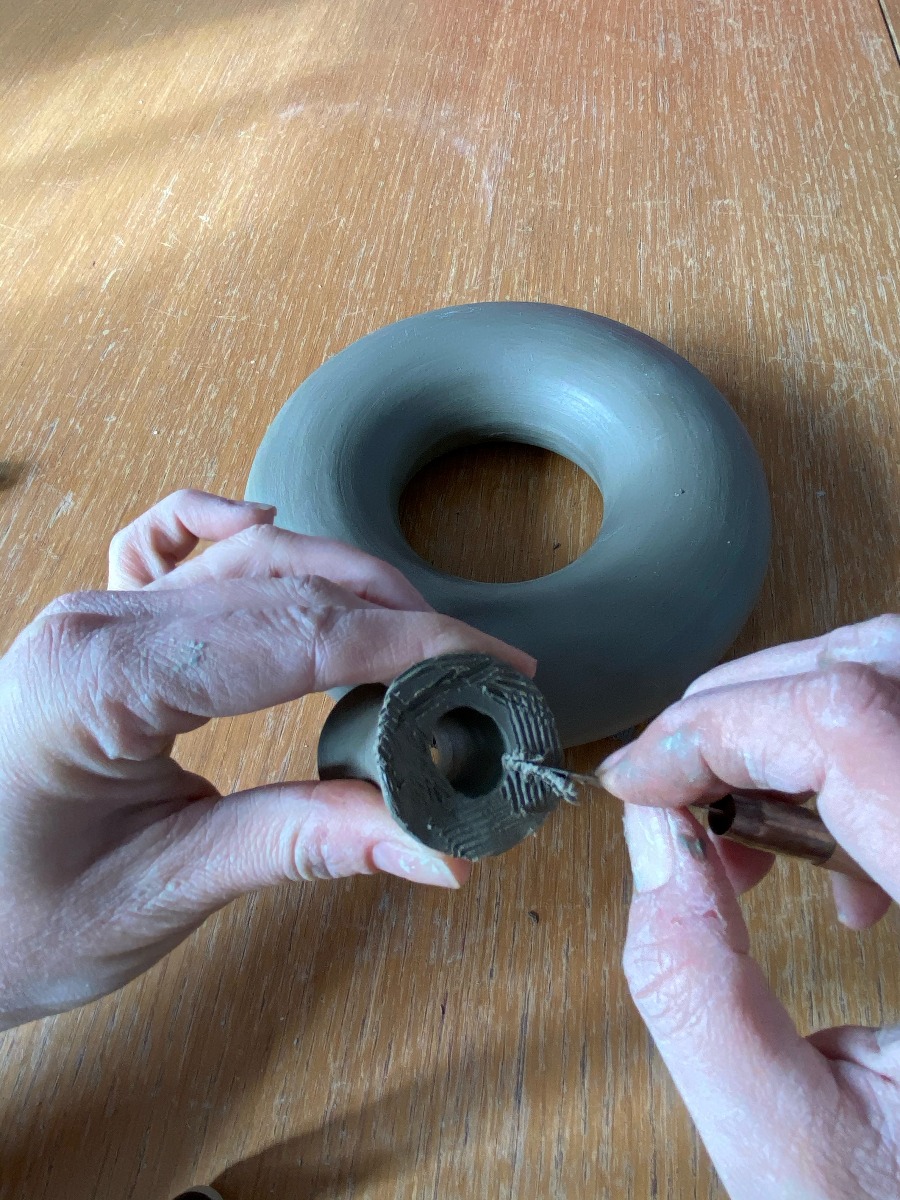
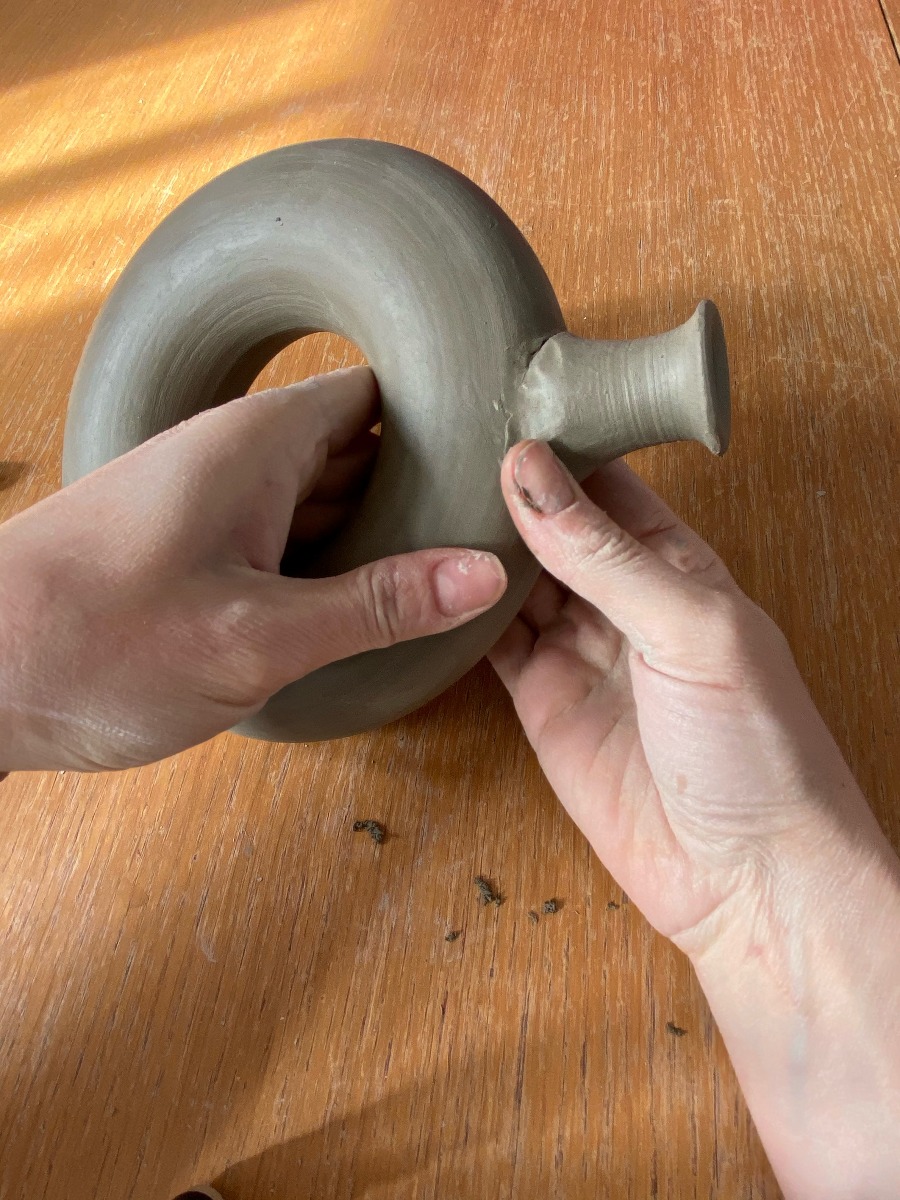
22) Score and slip the bottom of the neck of the bottle,
and the area it is to be attached to, marry the pieces by
smoothing the join.
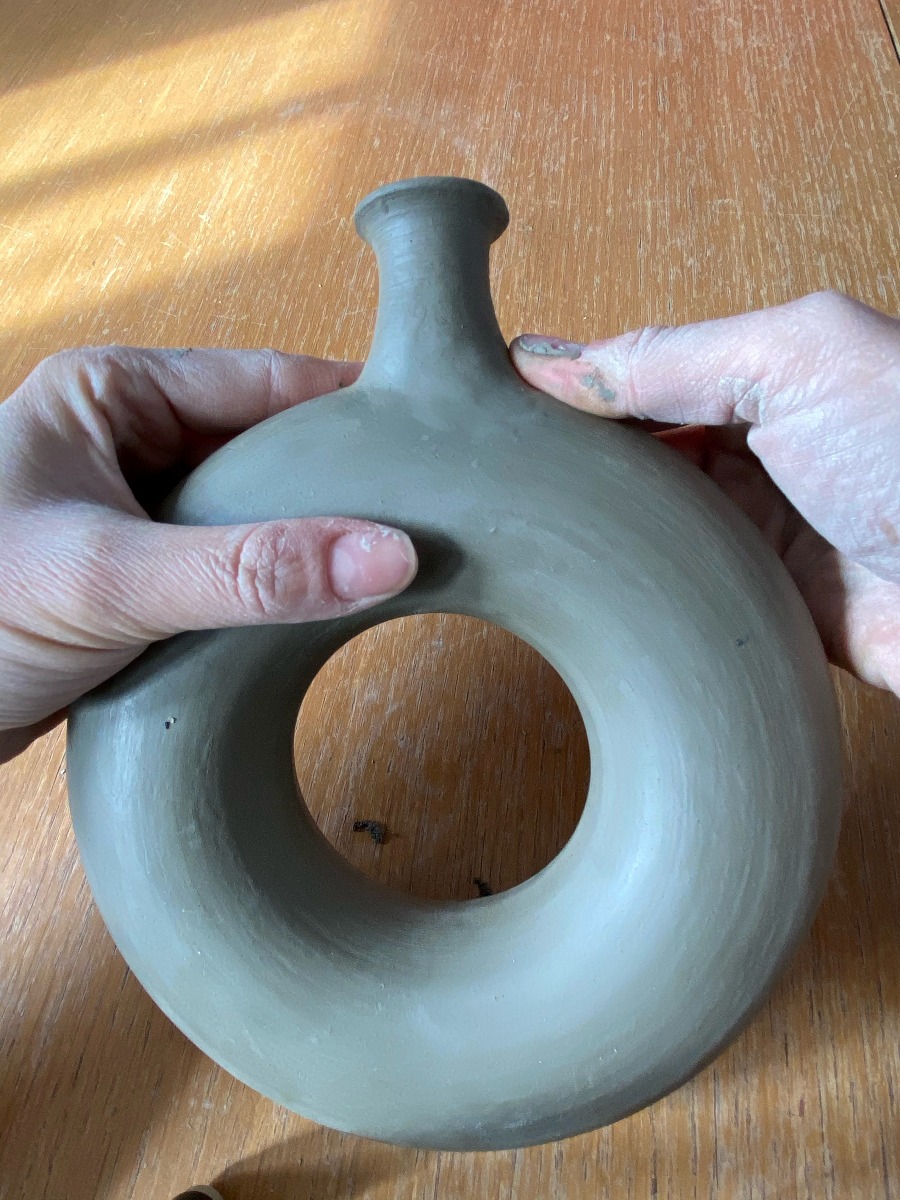
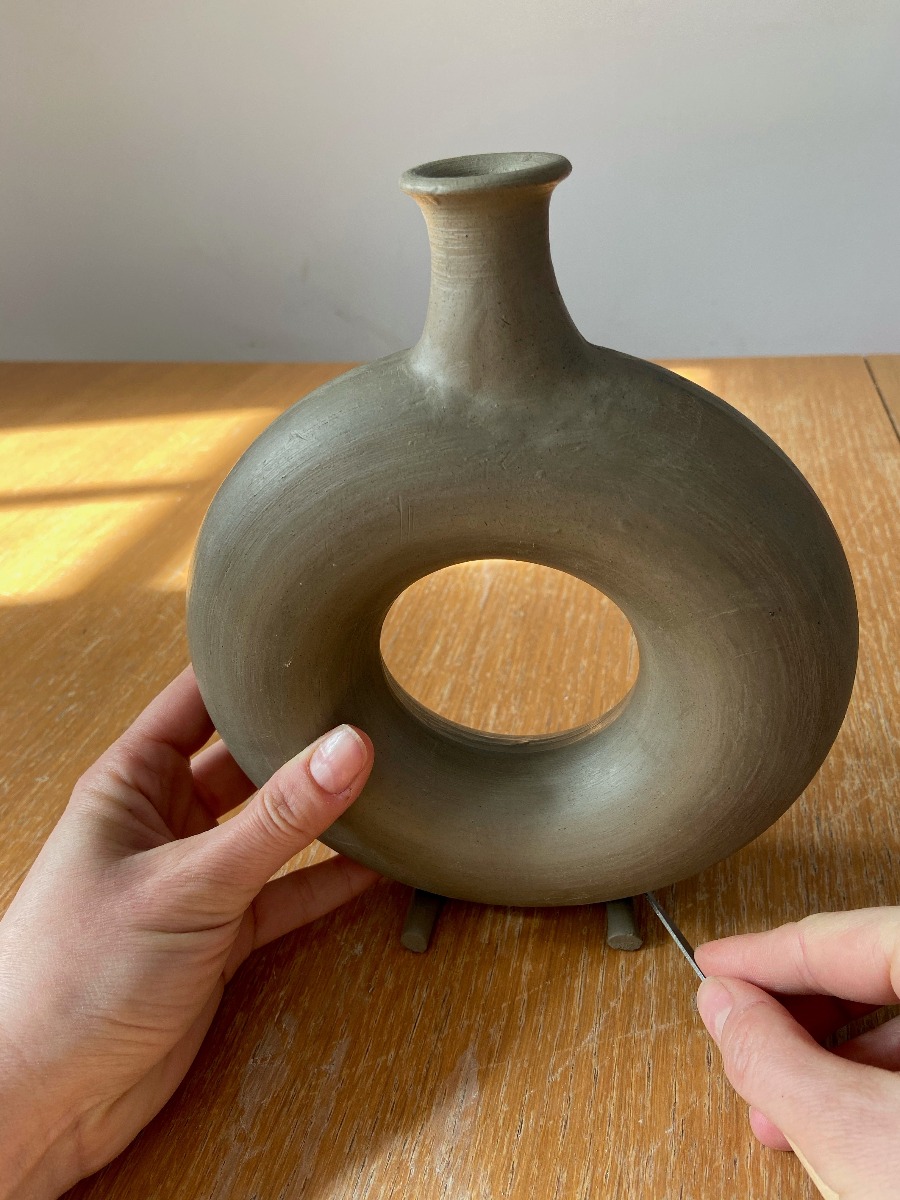
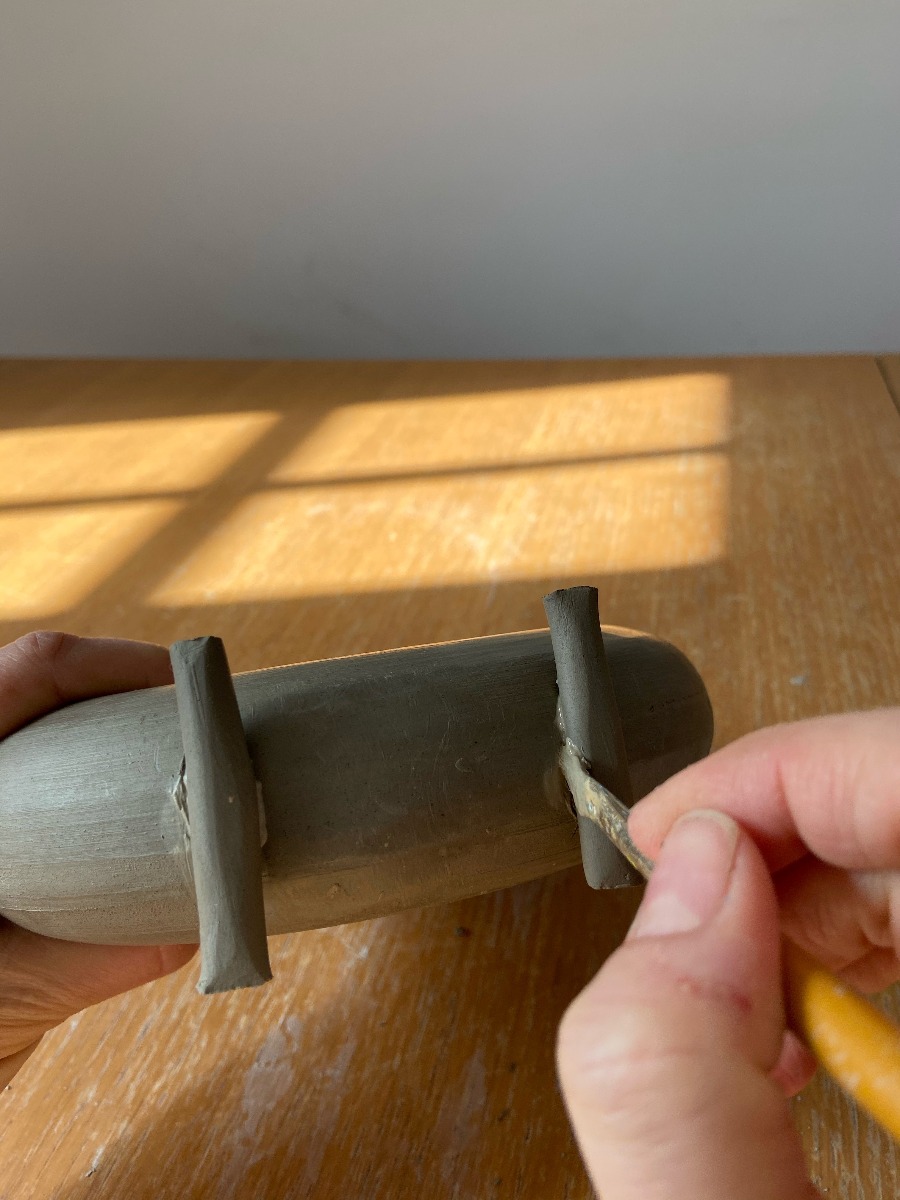
23) Stand the bottle on the two clay sausages and mark
where they are to be placed. Score, slip and attach in
place.
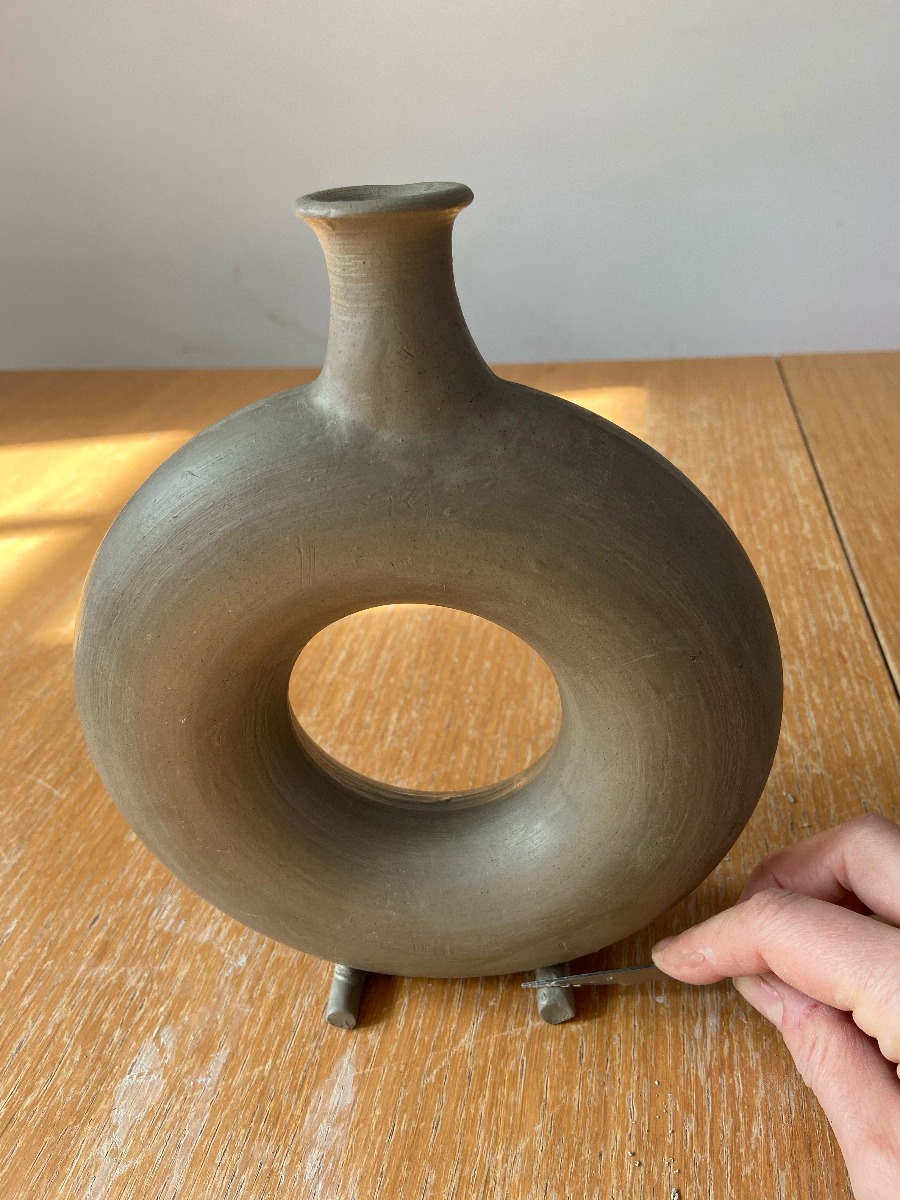
24) Allow to dry fully before bisque firing and glazing.